> ## Documentation Index
> Fetch the complete documentation index at: https://docs.cloud.vessl.ai/llms.txt
> Use this file to discover all available pages before exploring further.
# Member
> Create your first GPU instance, connect with JupyterLab or SSH, and control costs.
This quickstart is for Members (end users). If you're the first person in your org, you're also the Admin. See the [Admin quickstart](/guides/get-started/quickstart-admin) after completing this flow.
Go to [cloud.vessl.ai](https://cloud.vessl.ai) and create an account. Verify your email to activate your account.
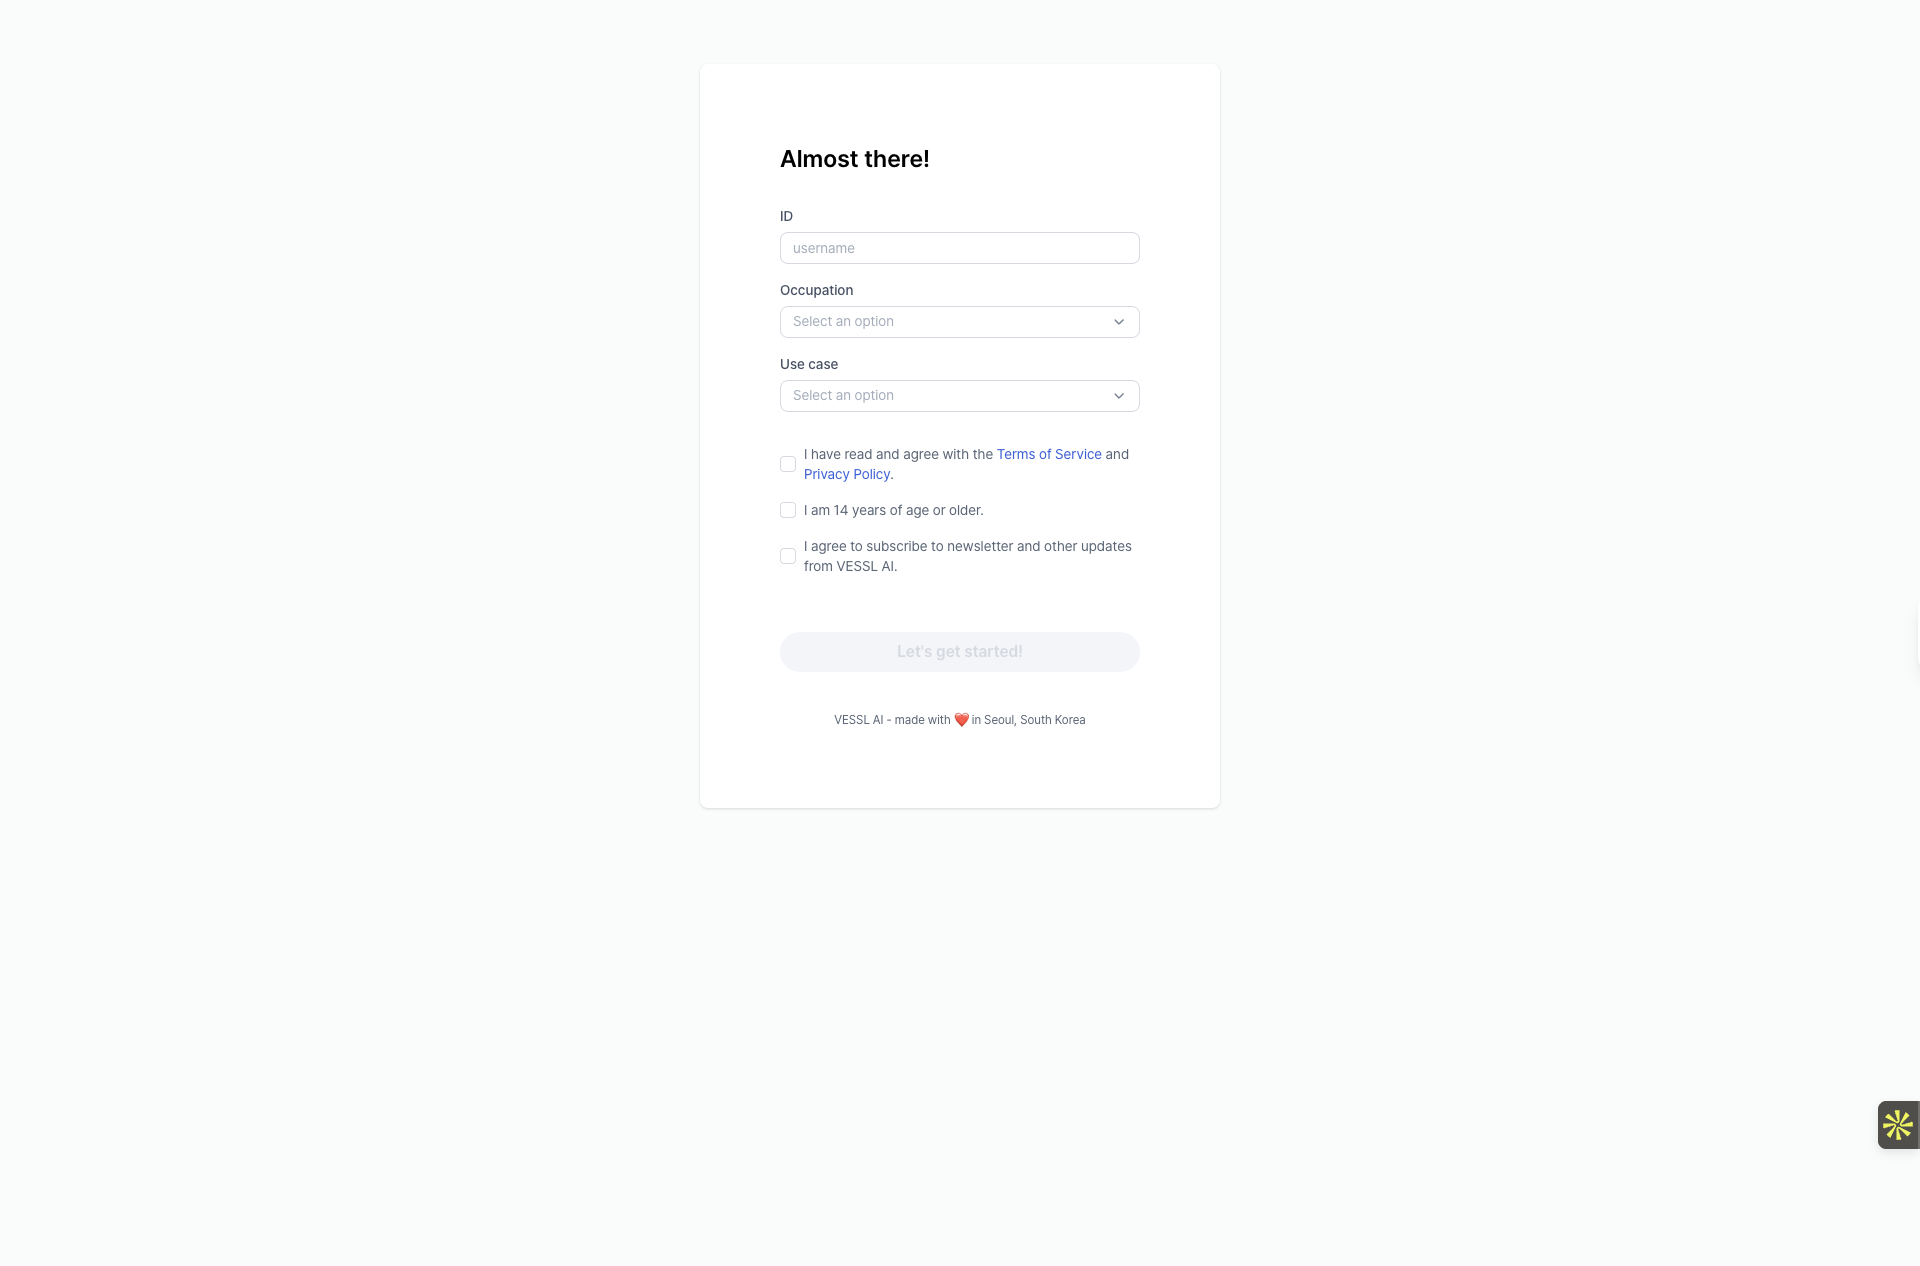
After verifying your email, enter your **ID** (username), select your **Occupation** and **Use case**. Check the required boxes to agree to the Terms of Service and confirm your age, then click **Let's get started!**
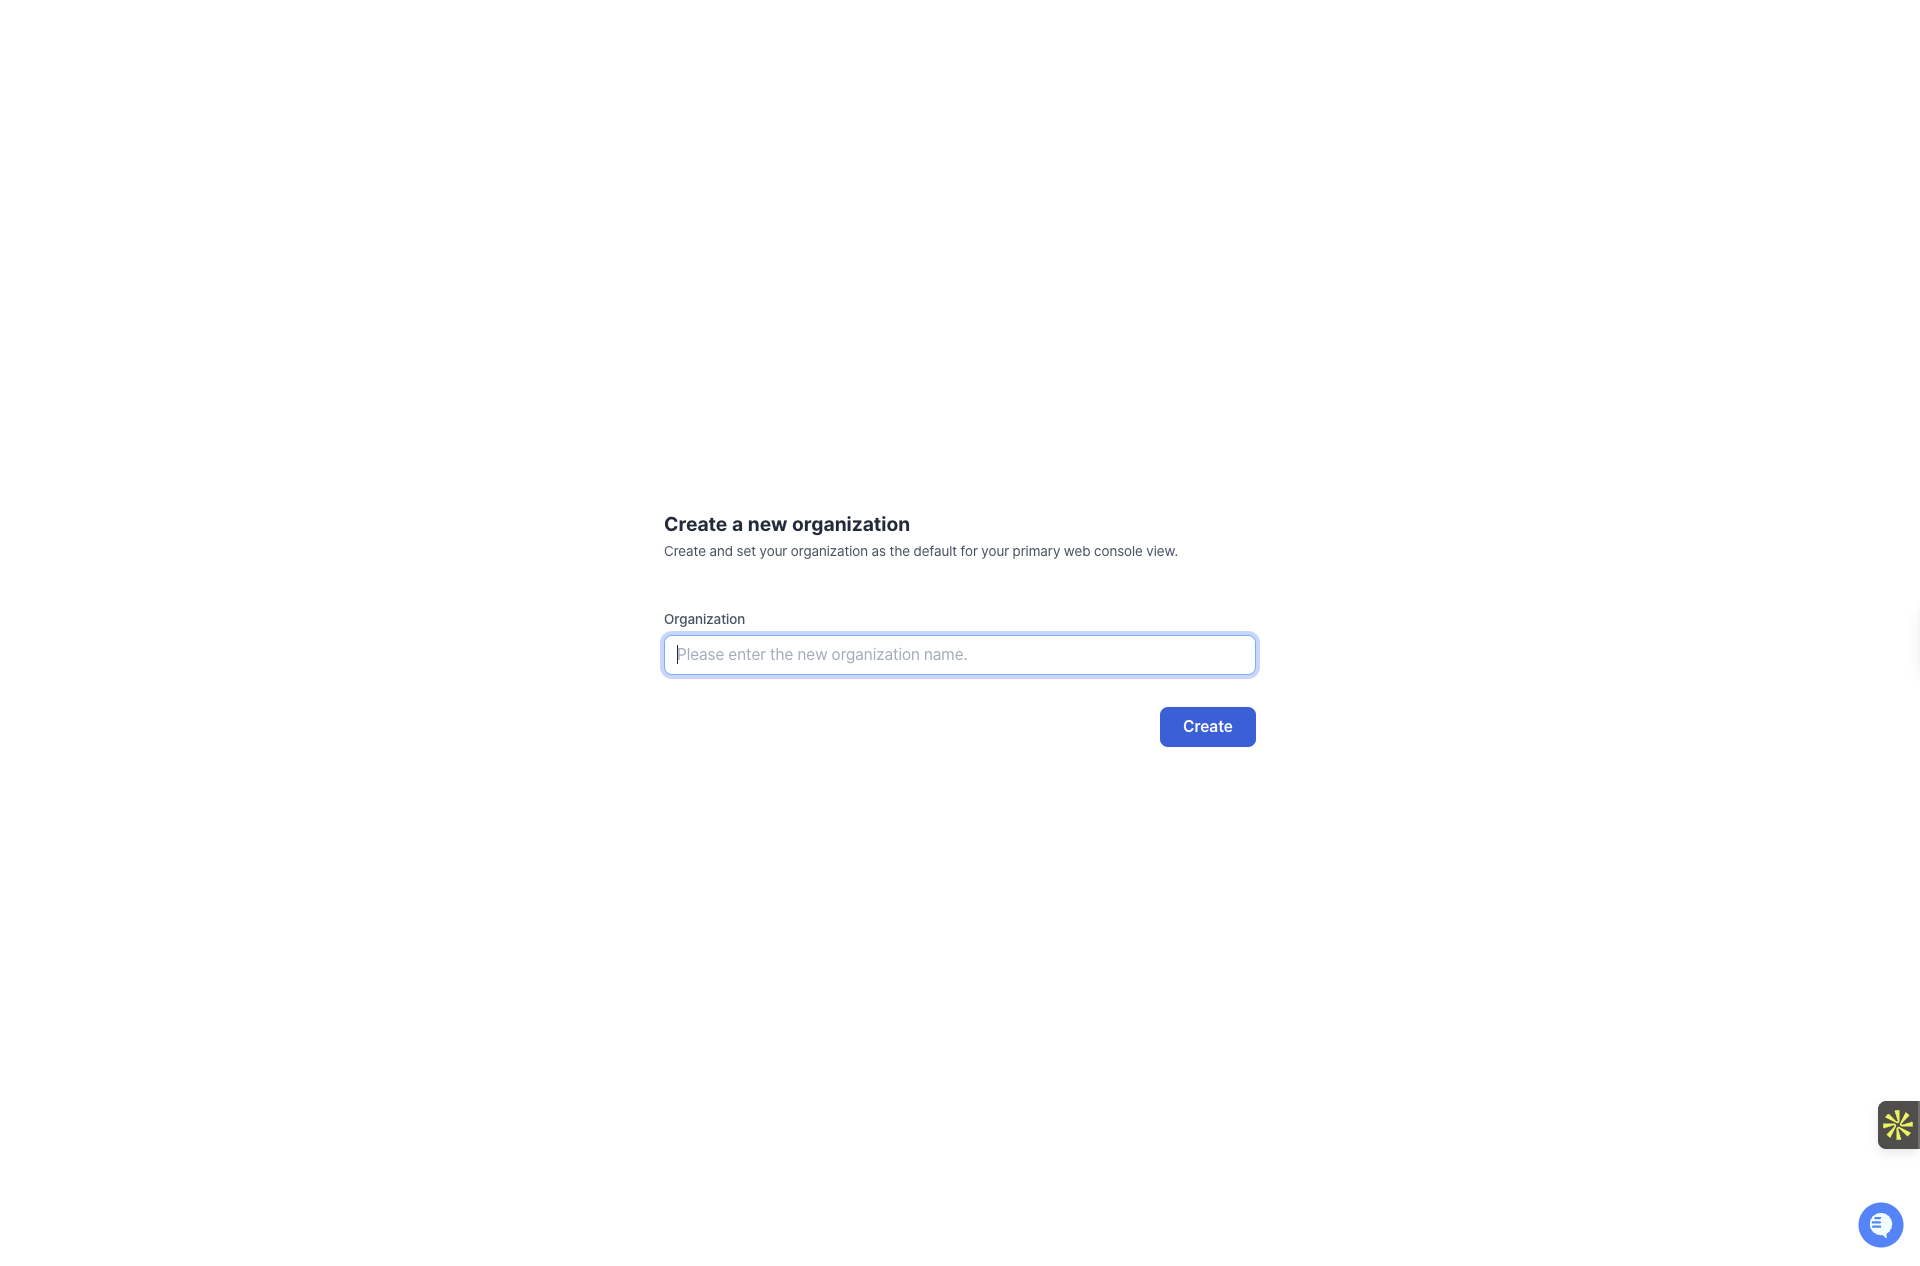
Enter your [organization](/guides/get-started/glossary#organization) name and click **Create** to set up your workspace.
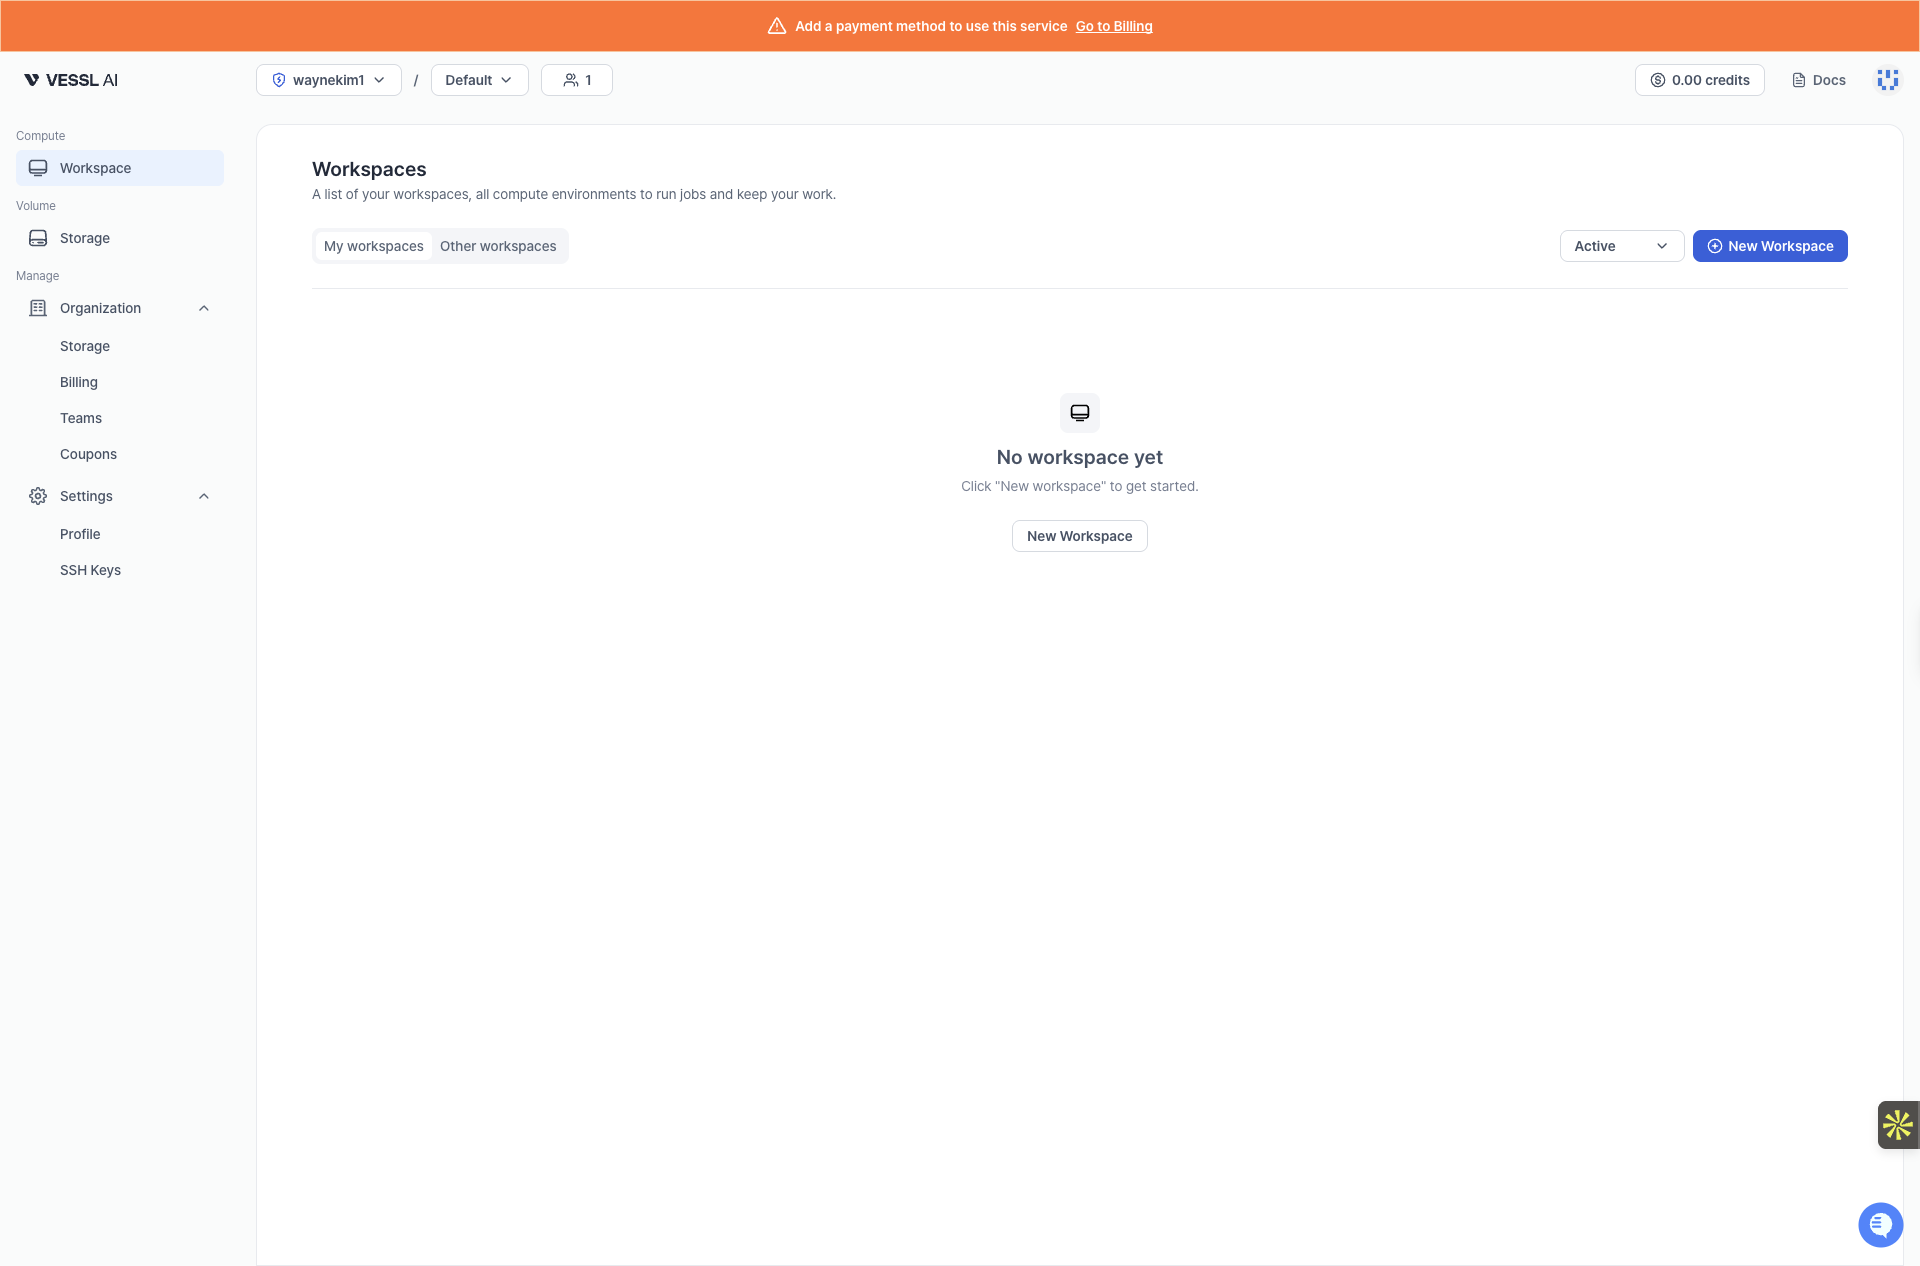
After creating your organization, you'll land on the main Workspaces dashboard. This is where you can manage all your compute environments.
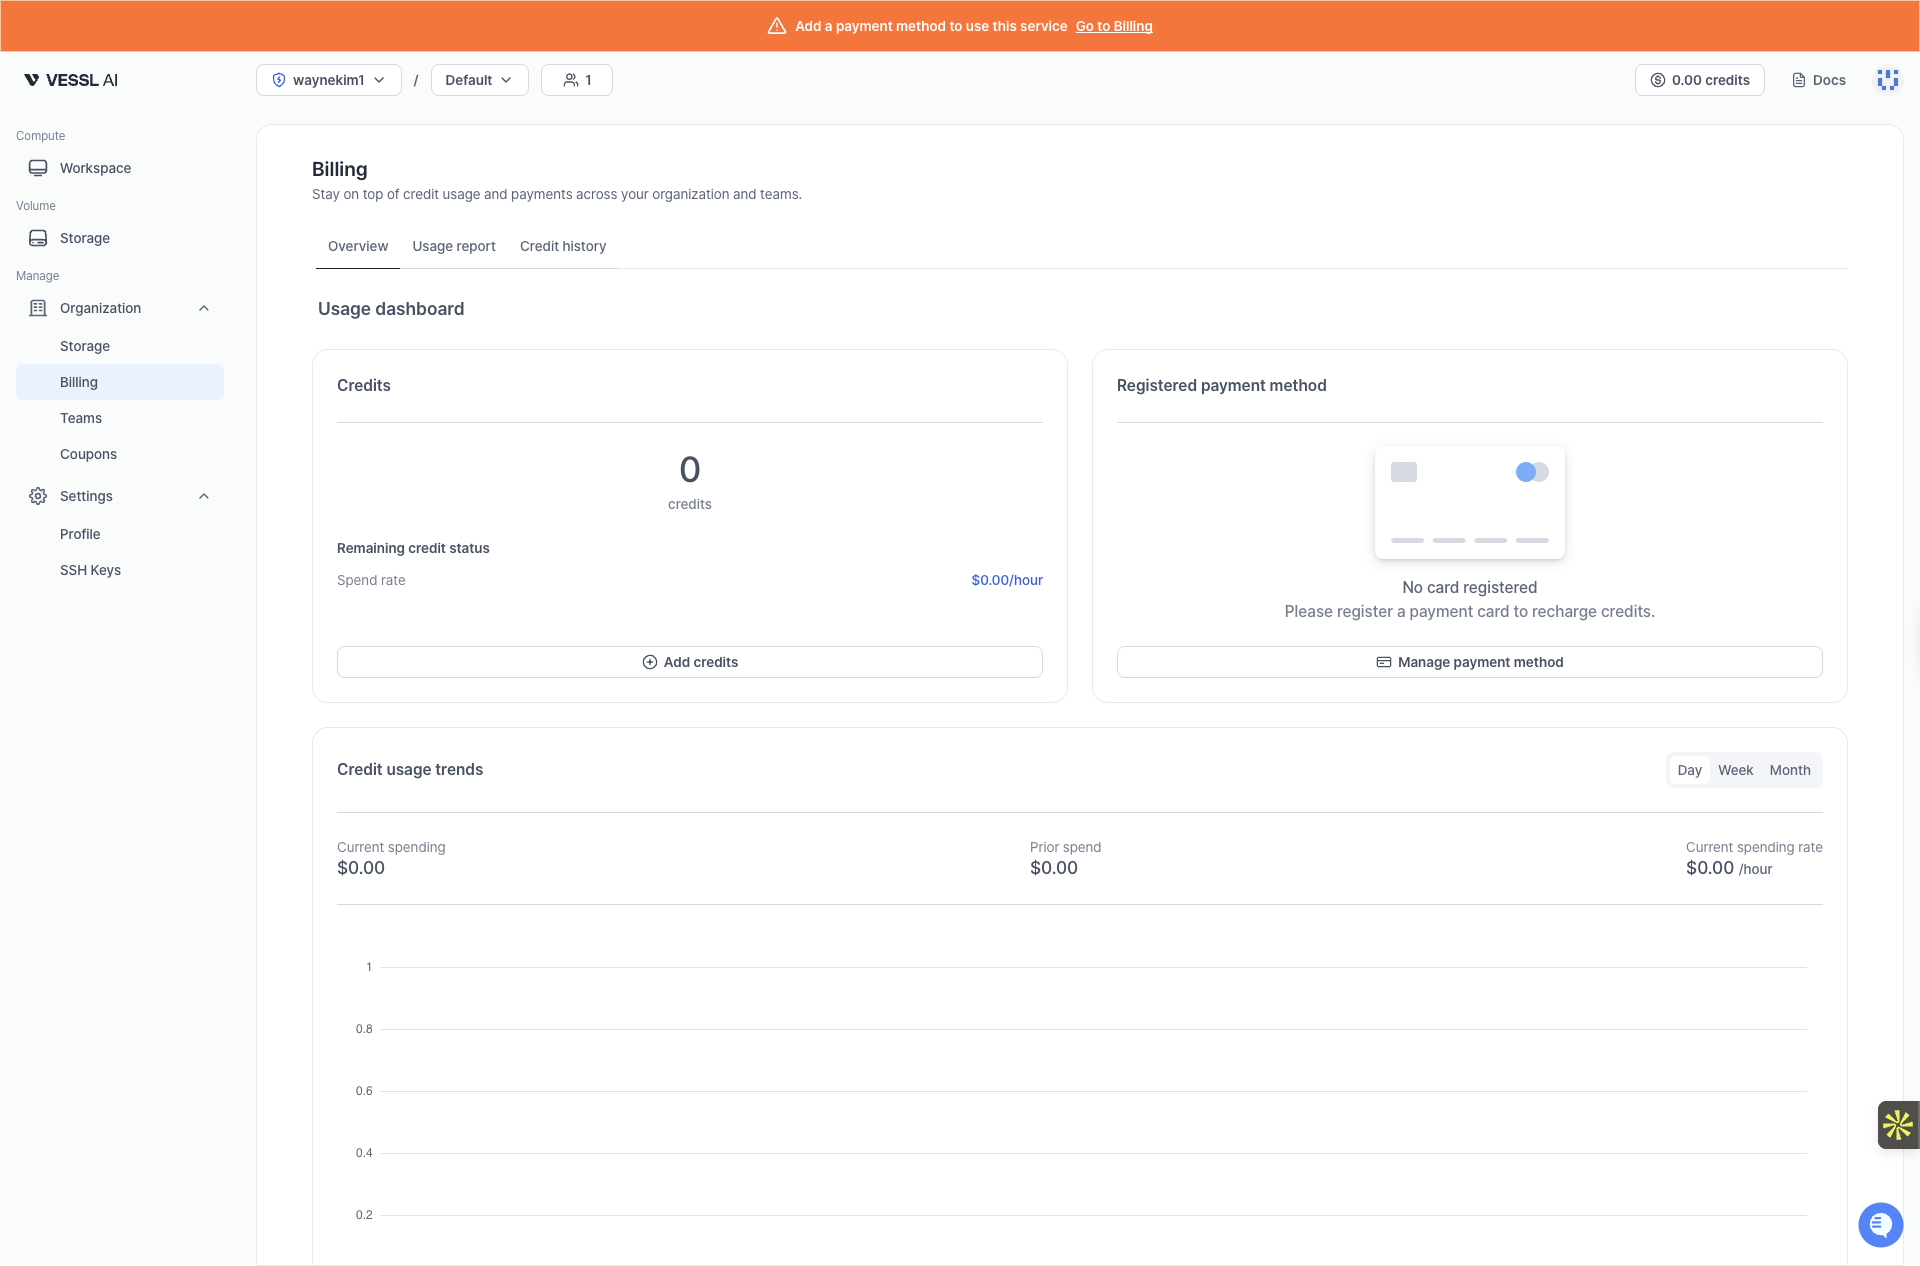
Before creating workspaces, register a payment method. Go to **Organization > Billing** in the sidebar. Click **Manage payment method** to add your card, then use **Add credits** to top up your [credit](/guides/get-started/glossary#credit) balance.
VESSL Cloud offers three storage types. Picking the right one up front avoids I/O bottlenecks and accidental data loss later.
| Storage | Speed | Data on pause | Best for |
| --------------------- | ------------------ | ------------- | ------------------------------------------------------------------------------------------- |
| **Cluster storage** | Fast (CephFS/NVMe) | Preserved | Code, virtual environments, and anything you want to keep across pauses — mount at `/root` |
| **Object storage** | Slower (S3-backed) | Preserved | Datasets, model checkpoints, and files shared across teams or clusters — mount at `/shared` |
| **Temporary storage** | Fast (local disk) | Cleared | Scratch work only; everything here disappears the moment you pause or terminate |
If you rely only on Temporary storage, your code and data disappear when you pause the workspace. Always attach at least one persistent volume (Cluster storage or Object storage) before running important work.
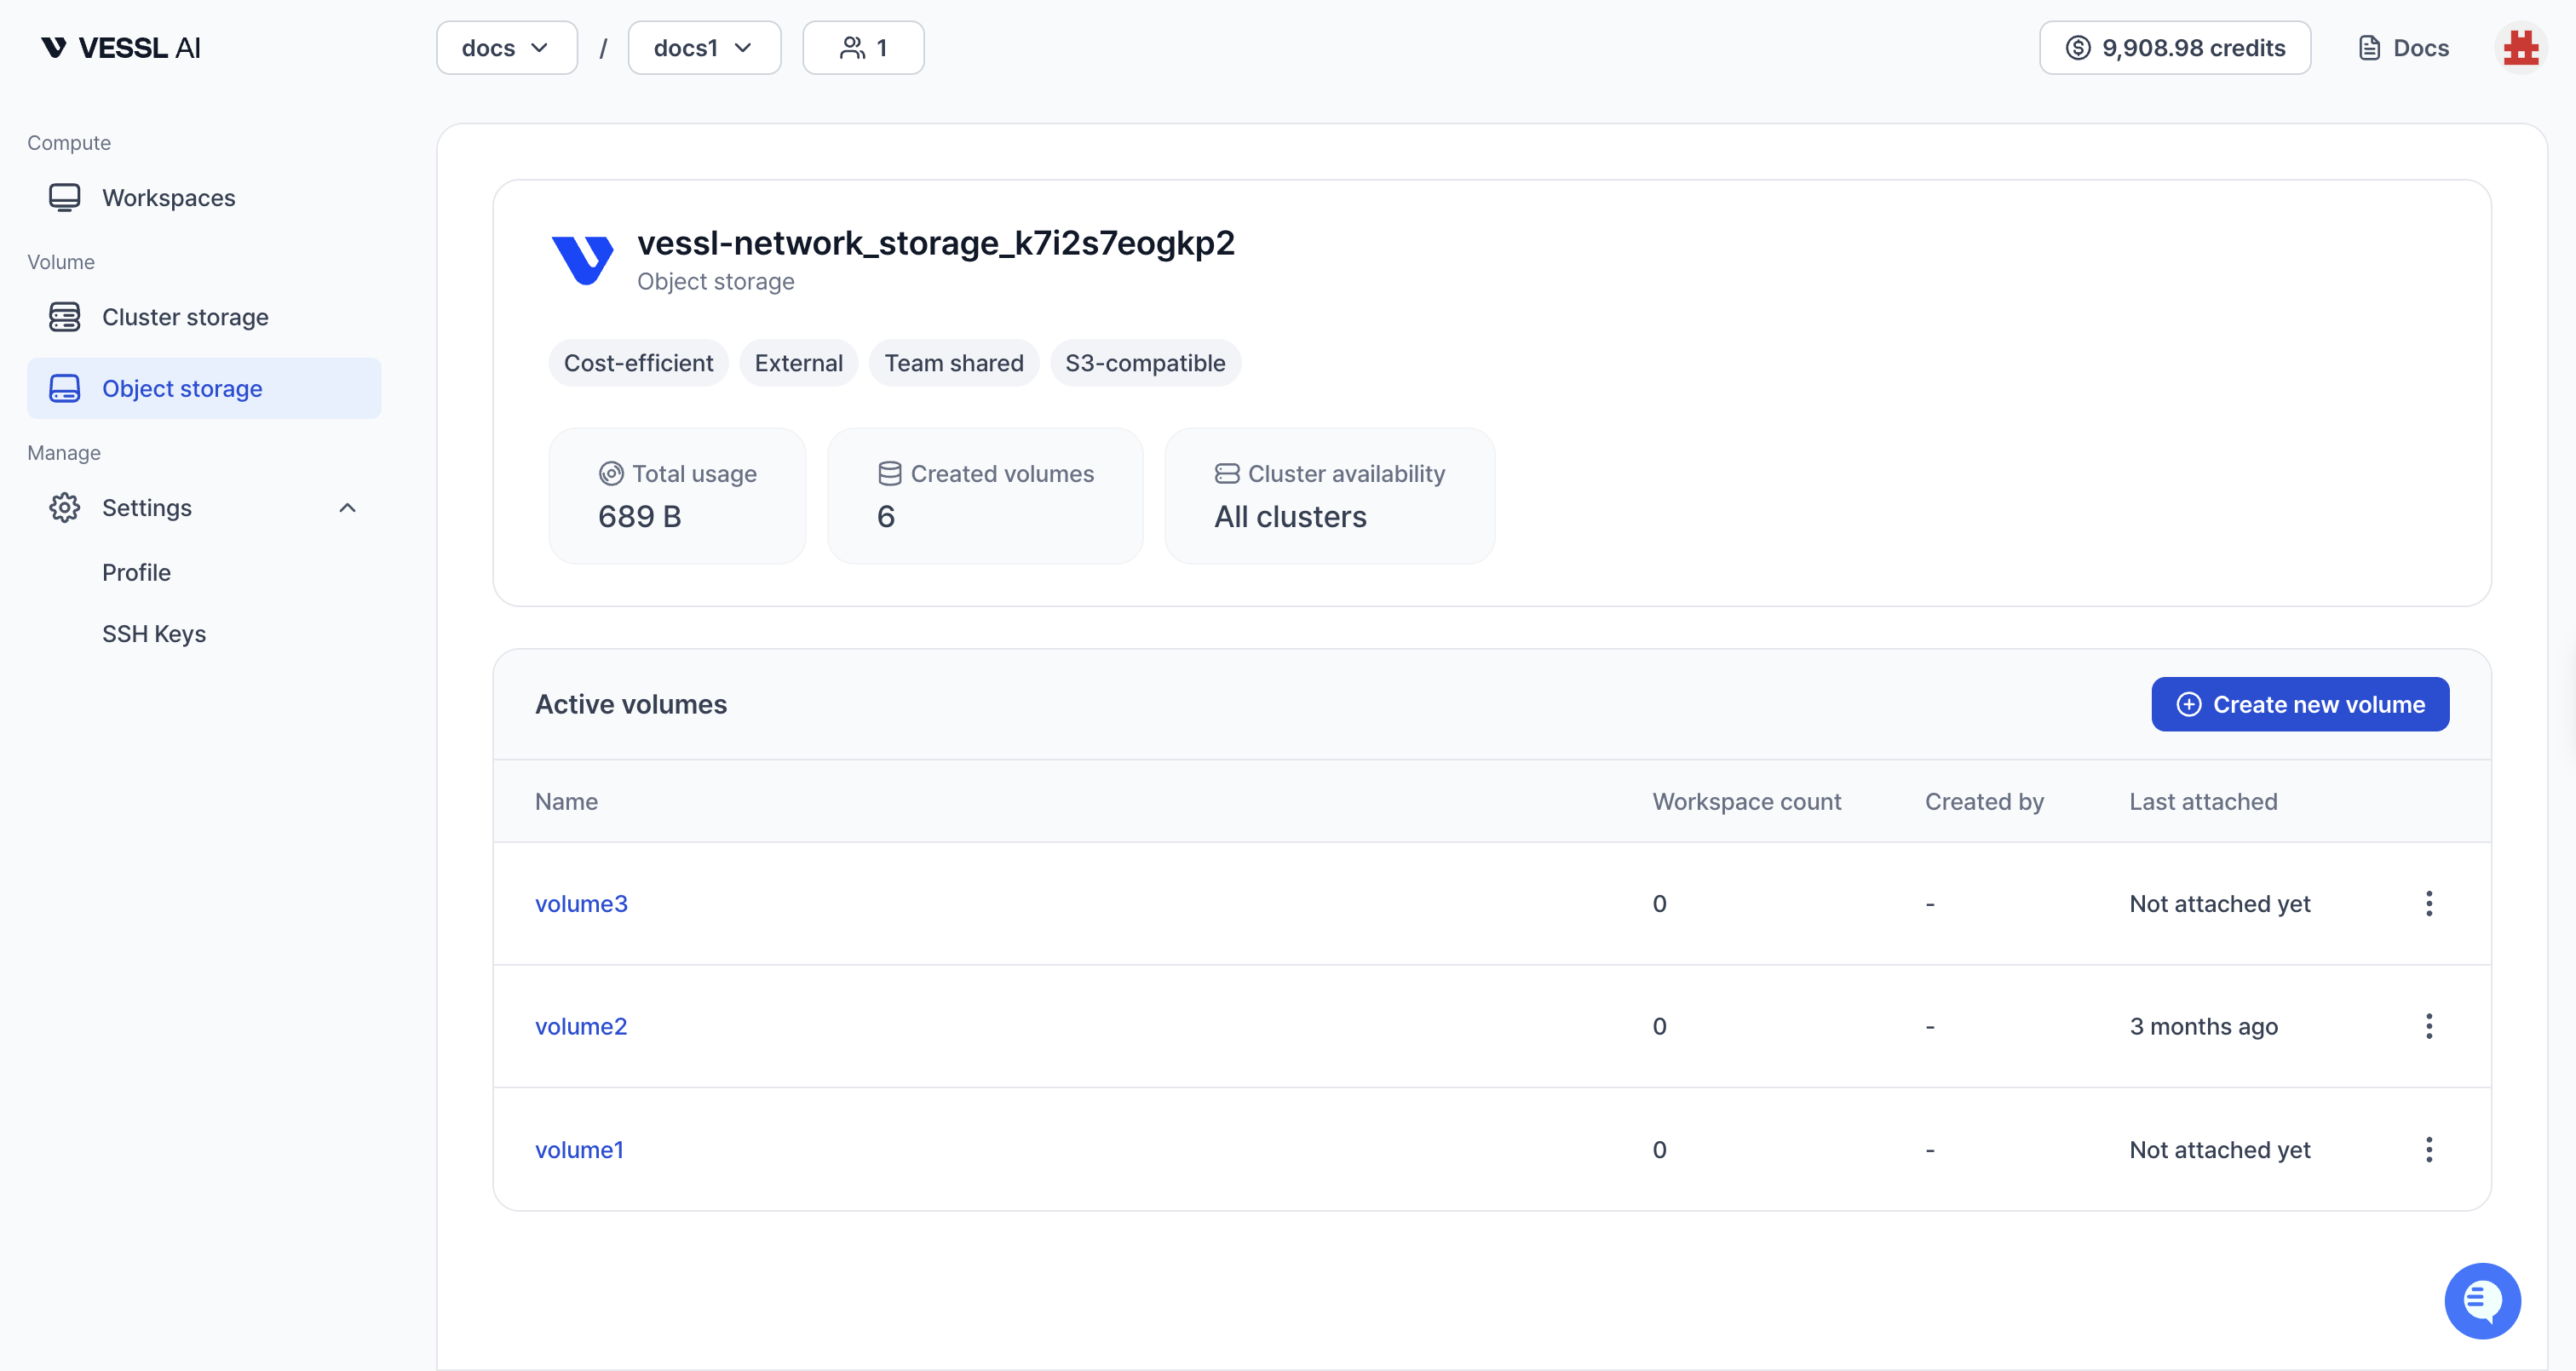
**For this quickstart, create an Object storage volume** — it works even before your admin provisions Cluster storage. Click **Object storage** in the sidebar and click **Create new volume**. Enter a **Volume name** and **Description** to create an [Object storage](/guides/get-started/glossary#object-storage) volume.
Cluster storage volumes are managed by Organization Admins. If Cluster storage is available for your team, you can also create volumes under **Cluster storage** in the sidebar.
* **Mount Cluster storage at `/root`** so code, `~/.cache`, and pip/conda packages survive pauses.
* **Mount Object storage at `/shared`** — VESSL Cloud rejects `/root` as an Object storage mount path because Object storage is slower and has different filesystem semantics. Other paths that overlap with your Cluster storage mount are also blocked.
* Cluster storage is region-bound: only volumes from the same region as your selected GPU appear when creating a workspace.
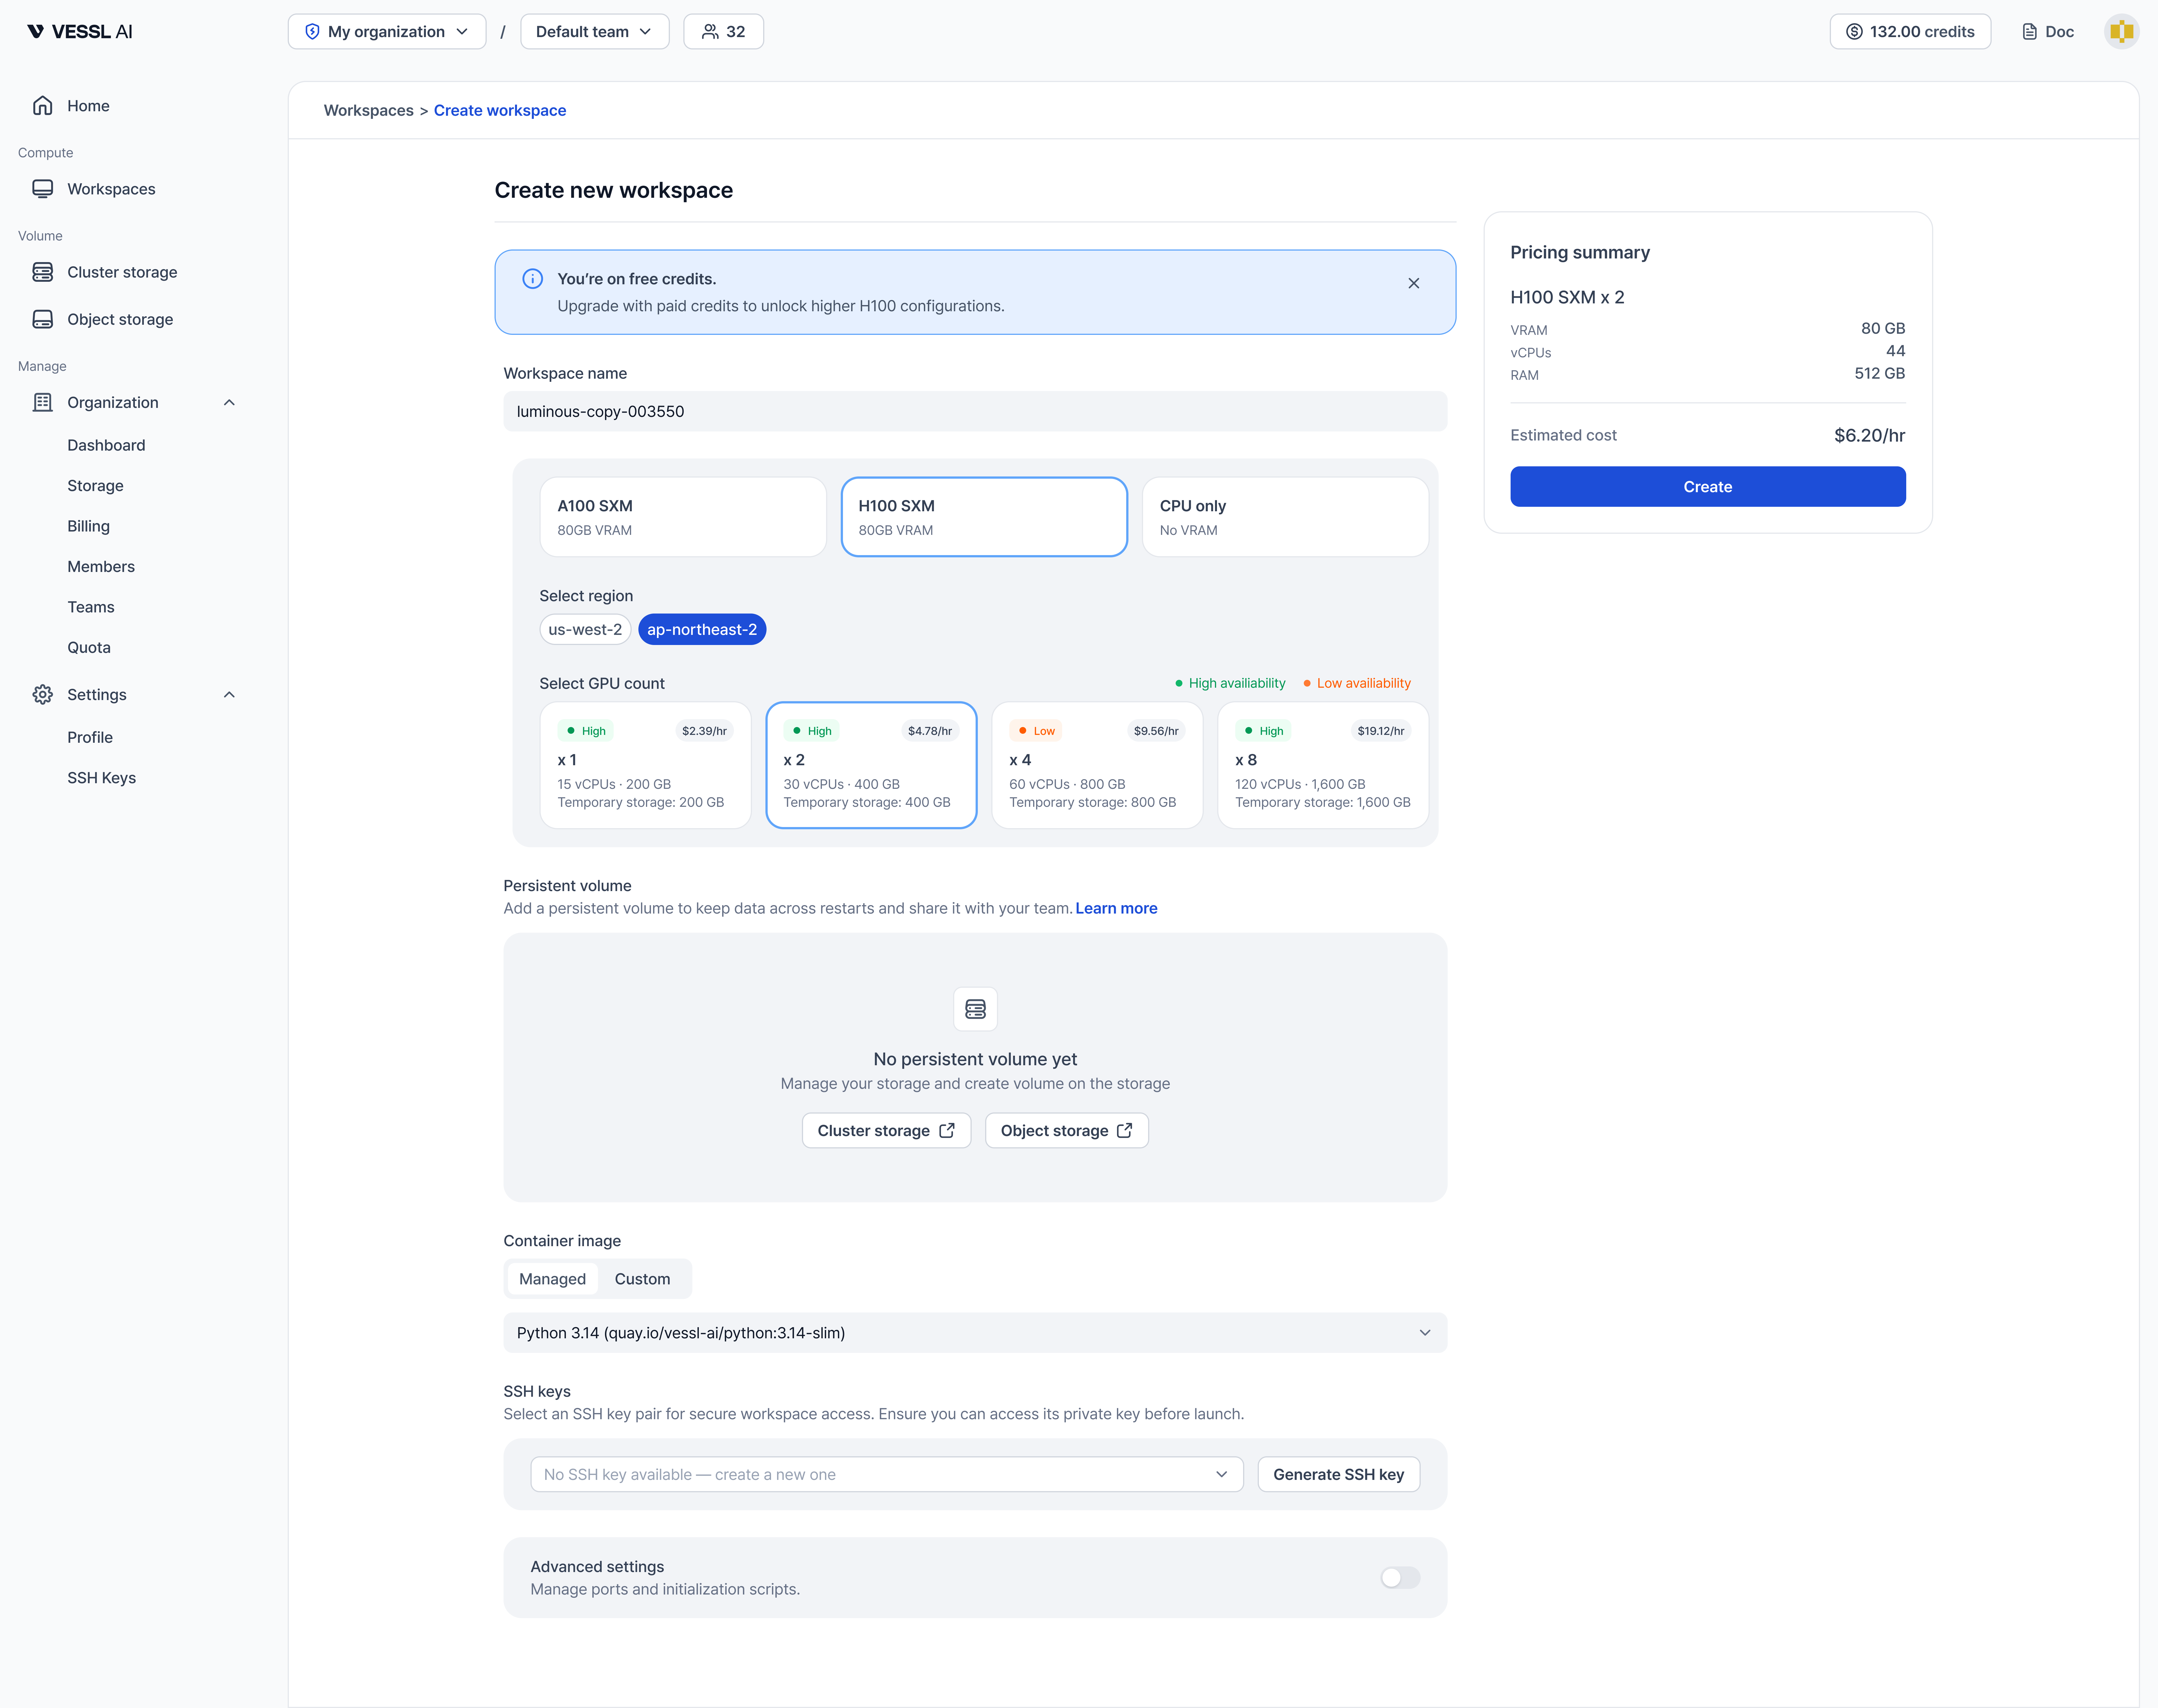
Open the **Workspace** tab in the sidebar and click **New Workspace**. Enter a name, then select a GPU product, region, and GPU count under [Resource spec](/guides/get-started/glossary#resource-spec) for testing.
Attach the **Object storage** volume you just created, then click **Create**.
You can run Jupyter notebooks directly in this workspace.
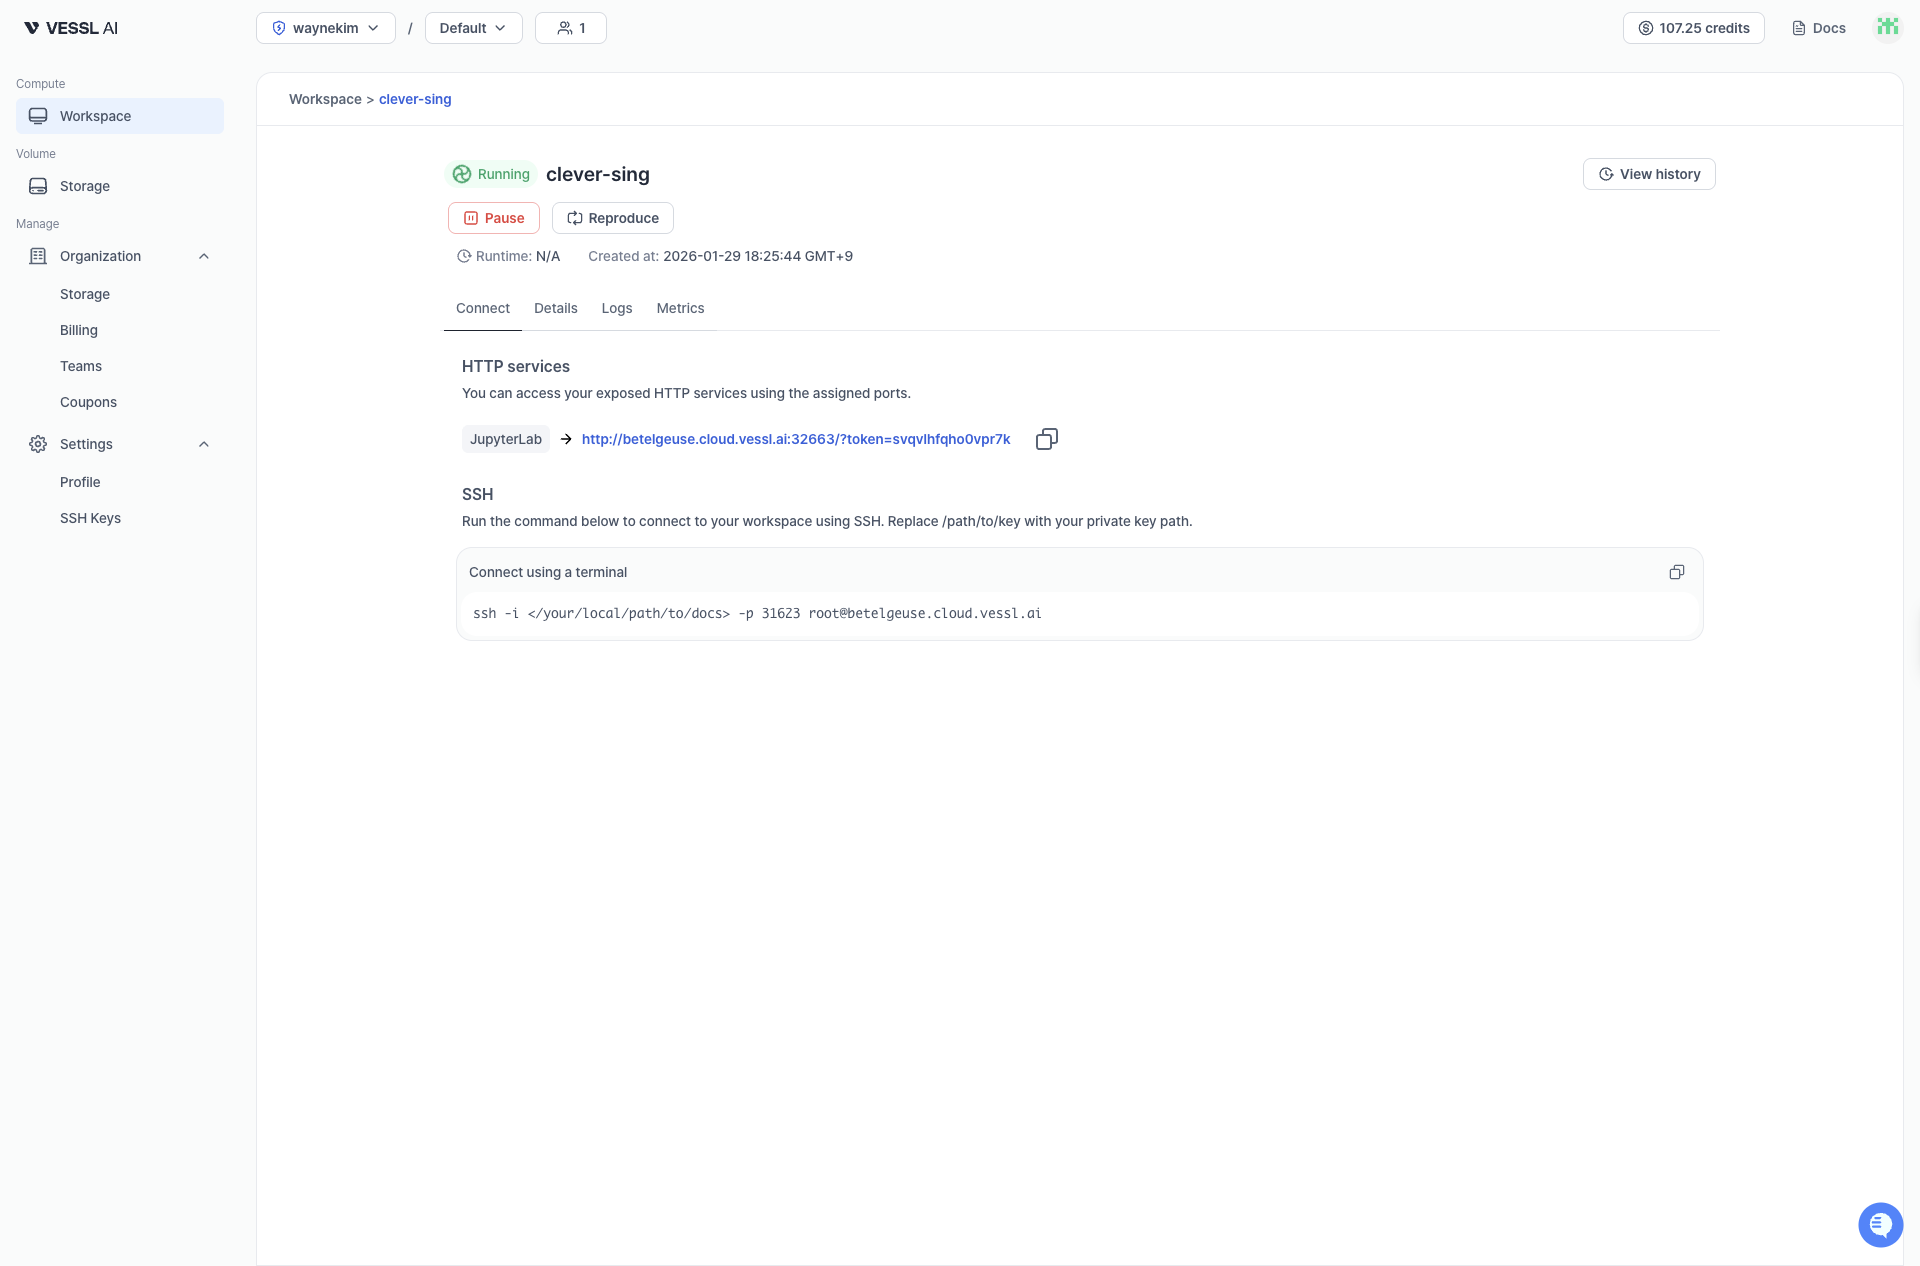
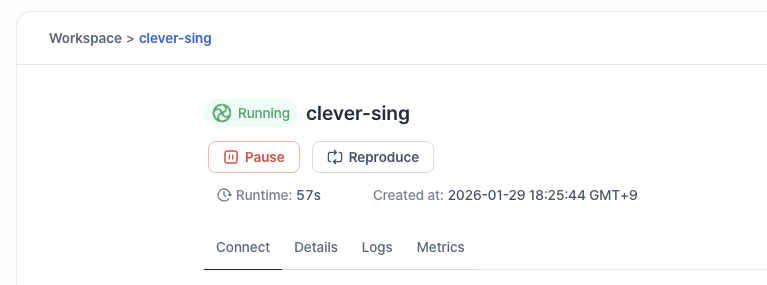
* Connect: In the workspace detail page, open the **Connect** tab to access using Jupyter (port 8888) or SSH (port 22). See [Connect](/member/workspace/connect).
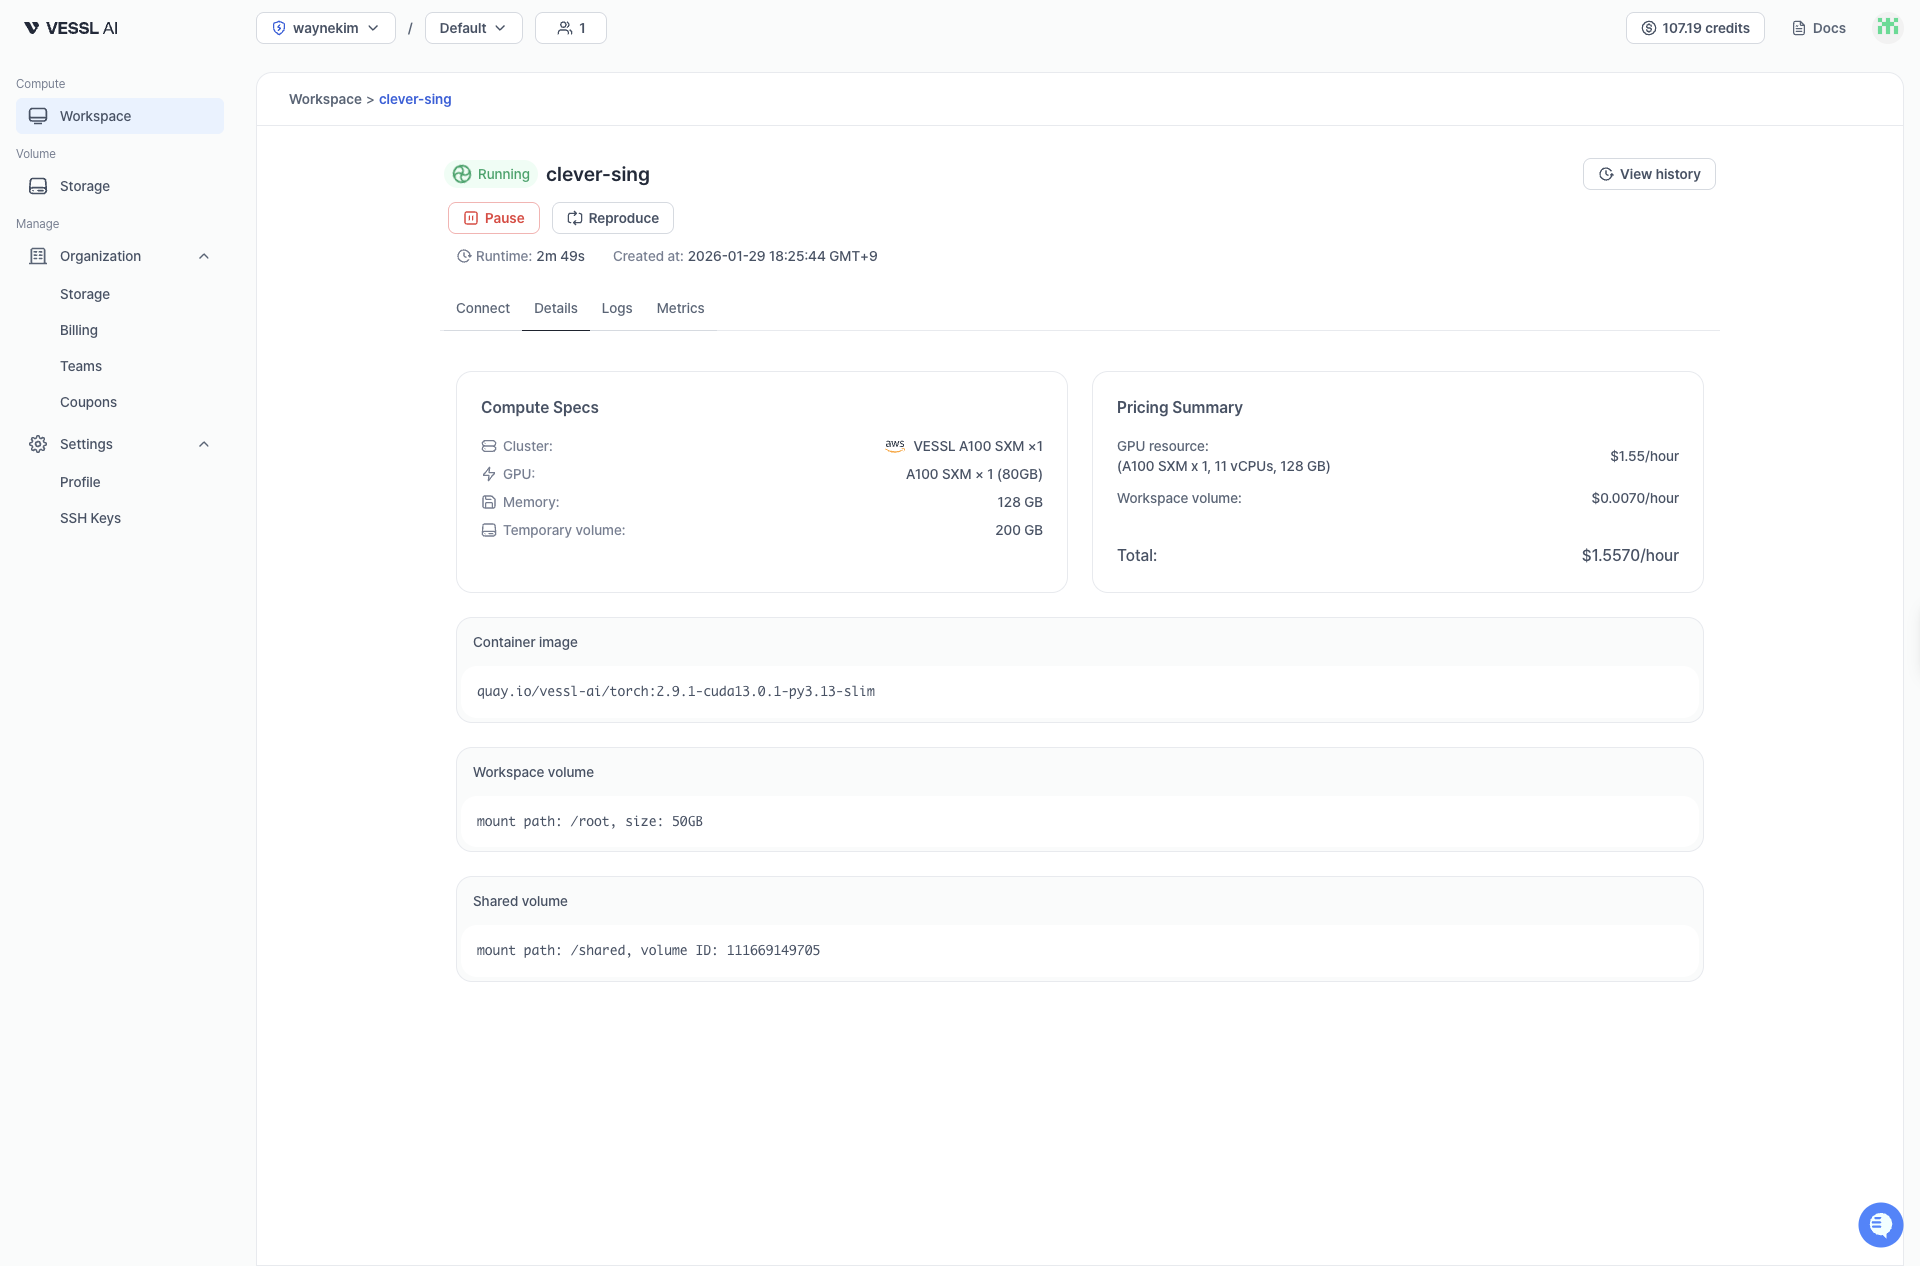
* Details: view GPU, volumes, image and other specs.
* Logs: view container logs in real time.
* Metrics: monitor CPU/GPU/Memory graphs.
In the workspace detail page, open the **Connect** tab and click **JupyterLab**.
In **JupyterLab**, create a `Notebook → Python 3 (ipykernel)`. Run the following code:
```python theme={null}
print("Hello, VESSL Cloud!")
```
If the output prints successfully, your environment is ready.
To connect with SSH instead, follow [Connect](/member/workspace/connect) to generate/select an SSH key and copy the SSH command.
To avoid charges: go to the **Workspaces** tab in the sidebar and open the kebab menu on a running workspace. Click **Pause** to stop billing for compute, or **Terminate** to delete the workspace permanently.
Paused workspaces may still incur storage charges (Cluster storage is billed at \$0.20/GiB/month). Terminated workspaces incur no cost. Data in Temporary storage is not preserved when paused.
To permanently remove a workspace: Click **Terminate** from the kebab menu and confirm by typing the workspace name and clicking **Delete**.