> ## Documentation Index
> Fetch the complete documentation index at: https://docs.cloud.vessl.ai/llms.txt
> Use this file to discover all available pages before exploring further.
# 계약 관리하기
> 예약한 PTU와 계약 기간을 확인하고, 모델을 바꾸거나 용량을 추가하고, 계약 이력을 살펴보는 방법을 안내해요.
계약 정보는 모델 페이지의 **Deploy options** 섹션에서 볼 수 있어요.
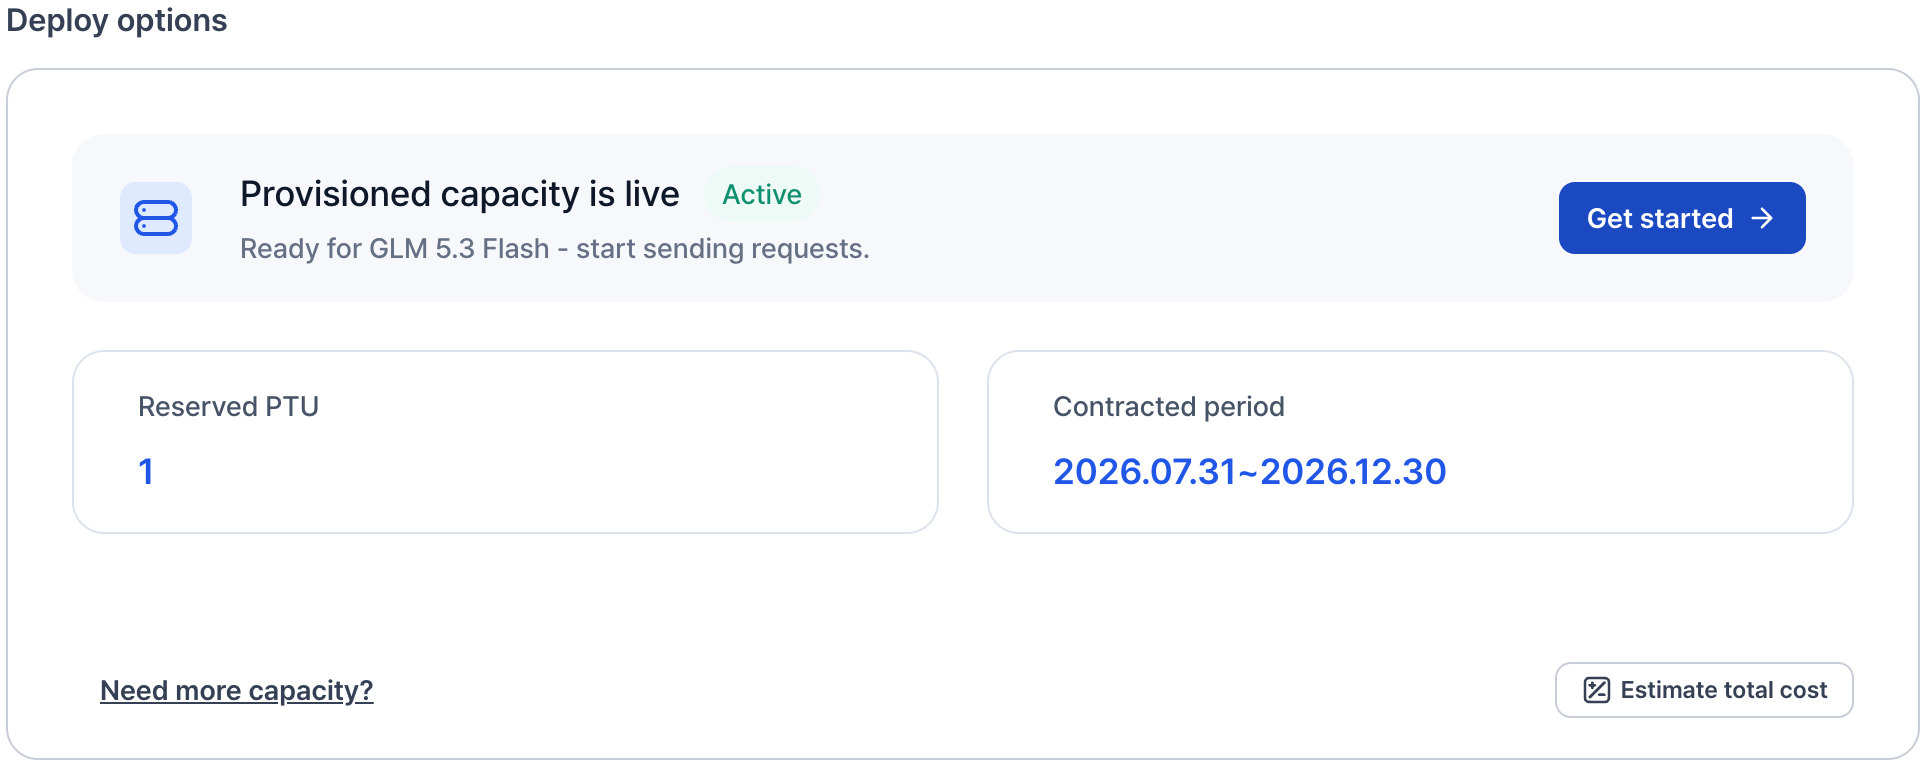 예시: 계약이 활성화된 모델의 Deploy options 카드
## 계약 상태
계약이 활성화된 동안 **Deploy options** 카드에는 Provisioned capacity is live와 **Active** 배지가 표시되고, 아래 정보를 볼 수 있어요.
* **Reserved PTU**: 계약한 PTU(Provisioned Throughput Unit) 수량이에요.
* **Contracted period**: 계약 시작일과 종료일이에요.
Get started를 클릭하면 이 모델의 ID가 채워진 예시 요청이 열려요. [첫 요청 보내기](/ko/inference/send-requests)를 참고하세요.
## 용량 추가하기
모델 페이지에서 Need more capacity?를 클릭하거나 [세일즈팀에 문의](https://vessl.ai/ko/talk-to-sales?utm_source=docs\&utm_medium=referral\&utm_campaign=inference_kr\&utm_content=contracts_more_capacity)해서 PTU를 추가할 수 있어요. 계약 용량을 넘는 트래픽도 정해진 한도까지는 처리하지만, 처리량을 보장하지 않는(best-effort) 방식이라 SLA 적용 대상이 아니에요. [SLA 이해하기](/ko/inference/sla)를 참고하세요.
## 모델 바꾸기
계약 기간 중에 같은 모델 패밀리 안에서 다른 모델로 바꿀 수 있어요. 그 밖의 변경은 [세일즈팀에 문의](https://vessl.ai/ko/talk-to-sales?utm_source=docs\&utm_medium=referral\&utm_campaign=inference_kr\&utm_content=contracts_change_model)해 주세요.
## 연장하거나 갱신하기
계약 기간은 세일즈팀과 개별 협의해서 정해요. 연장이나 갱신은 [세일즈팀에 문의](https://vessl.ai/ko/talk-to-sales?utm_source=docs\&utm_medium=referral\&utm_campaign=inference_kr\&utm_content=contracts_renew)해 주세요.
## 계약 이력
모델 페이지 하단의 **Previous contracts** 표에 이 모델의 모든 Provisioned Throughput 계약이 표시돼요. 계약 기간, 예약 PTU, SLA 조건, 생성일을 확인할 수 있어요.