

Prerequisites
VESSL Cloud integrates with any identity provider that supports the SAML 2.0 protocol. Commonly used providers include:- Microsoft Entra (formerly Azure Active Directory)
- AWS IAM Identity Center
- Okta
- You are an organization admin. Only admins can configure SAML SSO.
- SAML SSO is enabled for your organization. If the SAML SSO menu does not appear under Settings, contact support@vessl.ai.
- The Assertion Consumer Service (ACS) endpoint supports HTTP-POST bindings only.
- IdP-initiated SSO and Single Logout (SLO) are not supported.
Find your SP configuration
In the sidebar, select Settings, then select SAML SSO under Organization.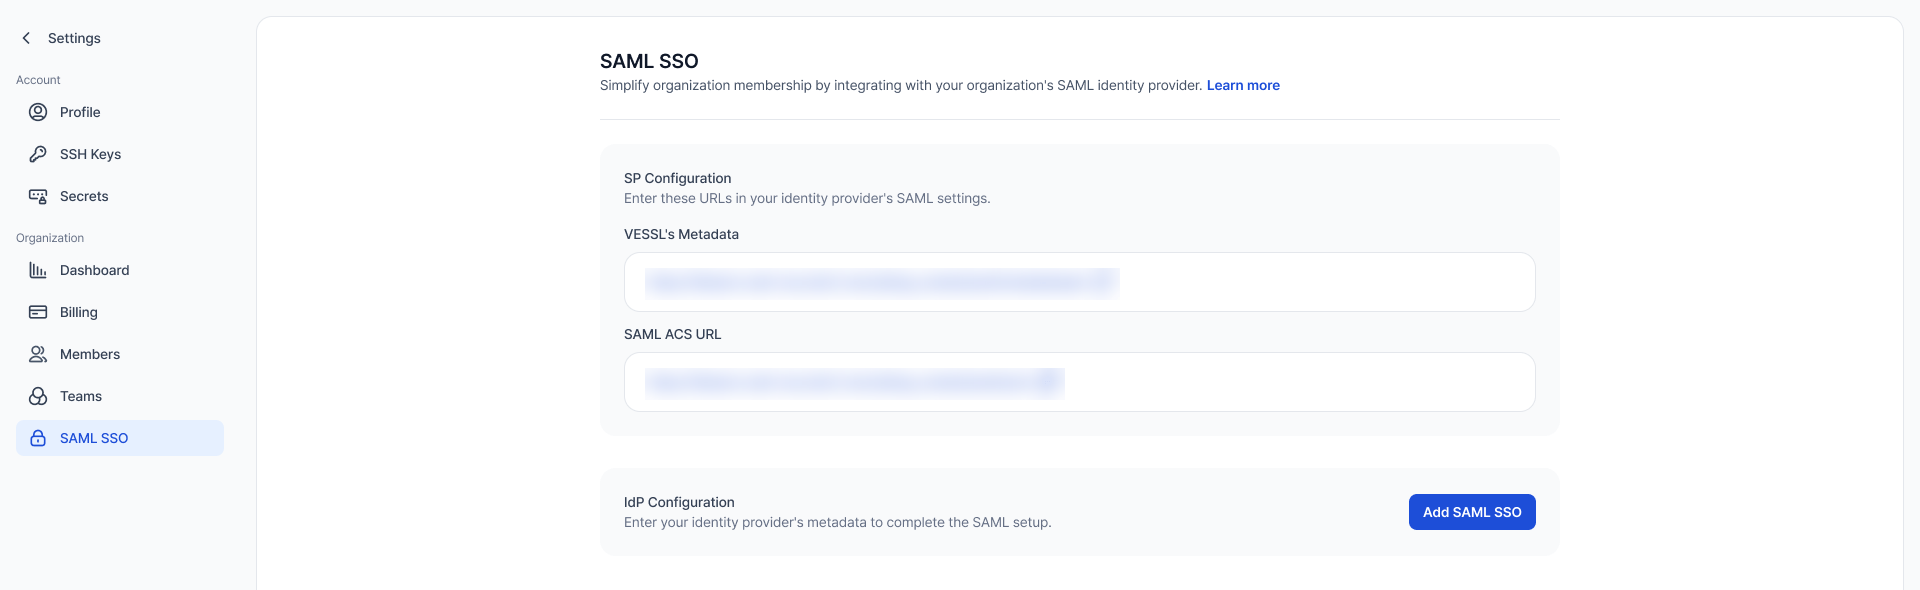
- VESSL Cloud’s metadata: the SAML Entity ID, also called the metadata URL. Opening this URL serves the raw metadata XML, which some identity providers require during configuration.
- SAML ACS URL: the endpoint that receives SAML responses from your identity provider.
Configure your identity provider
Choose the setup instructions that match your identity provider.- Microsoft Entra
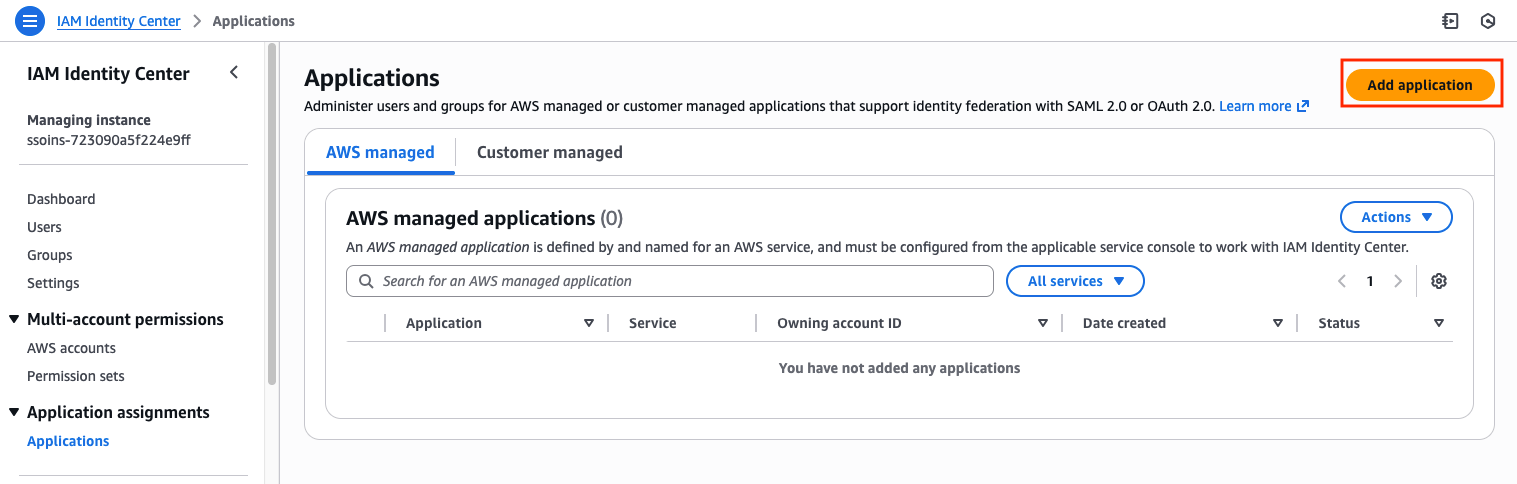
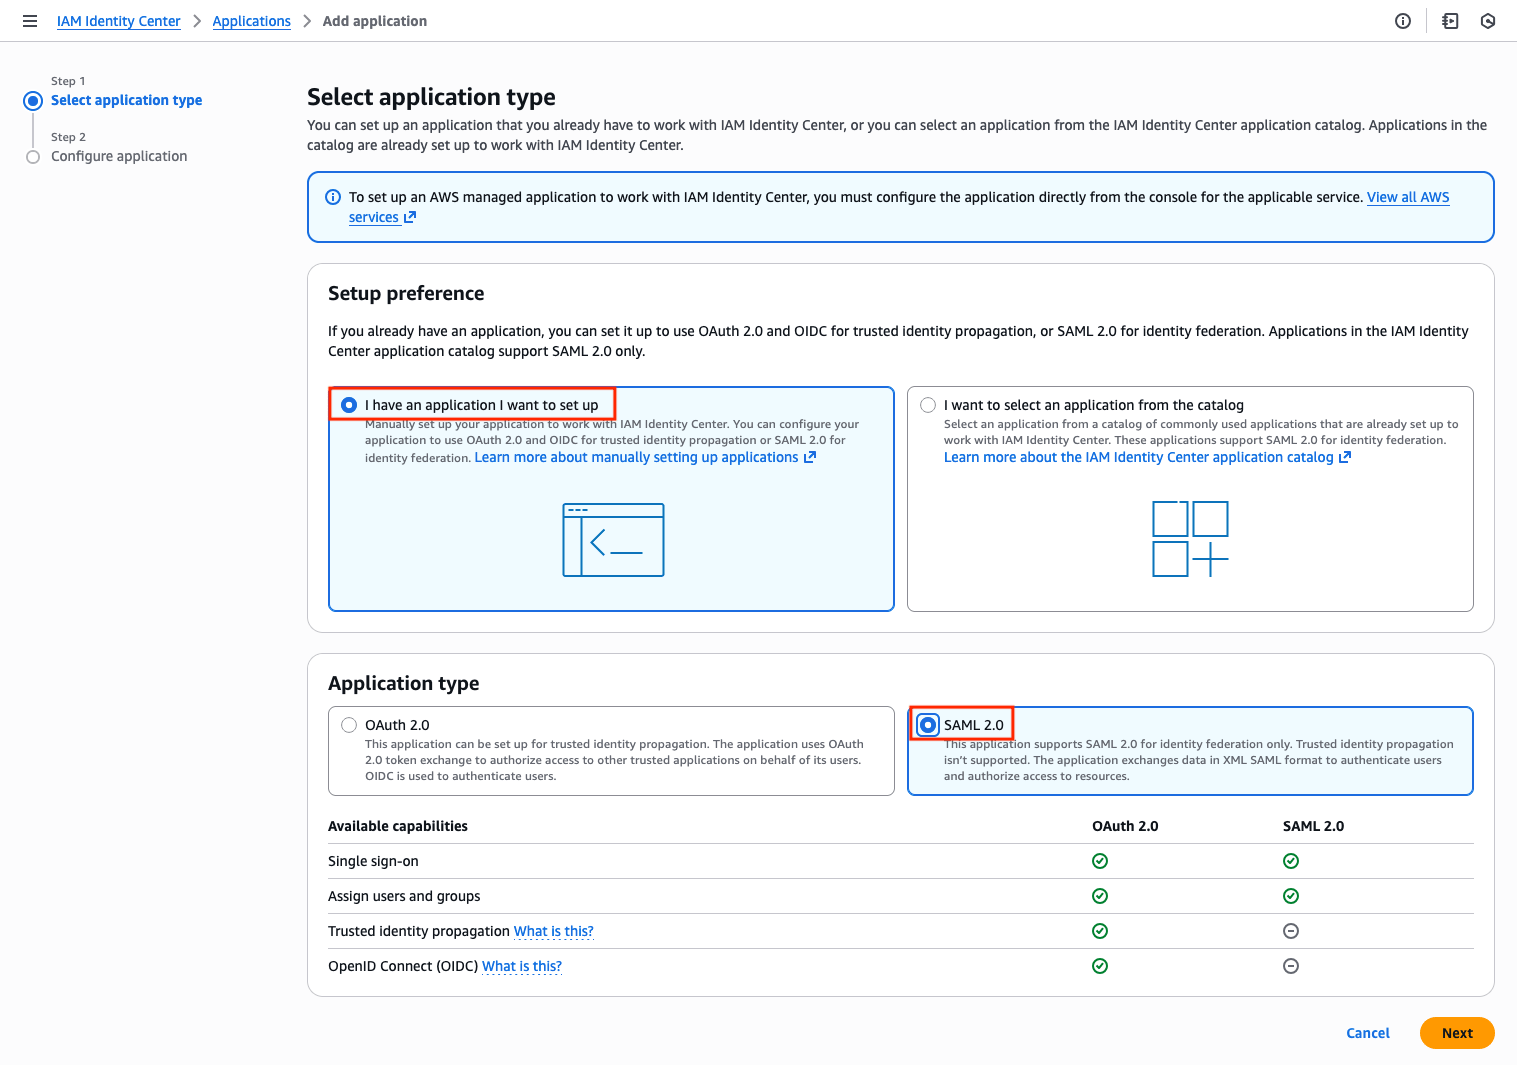
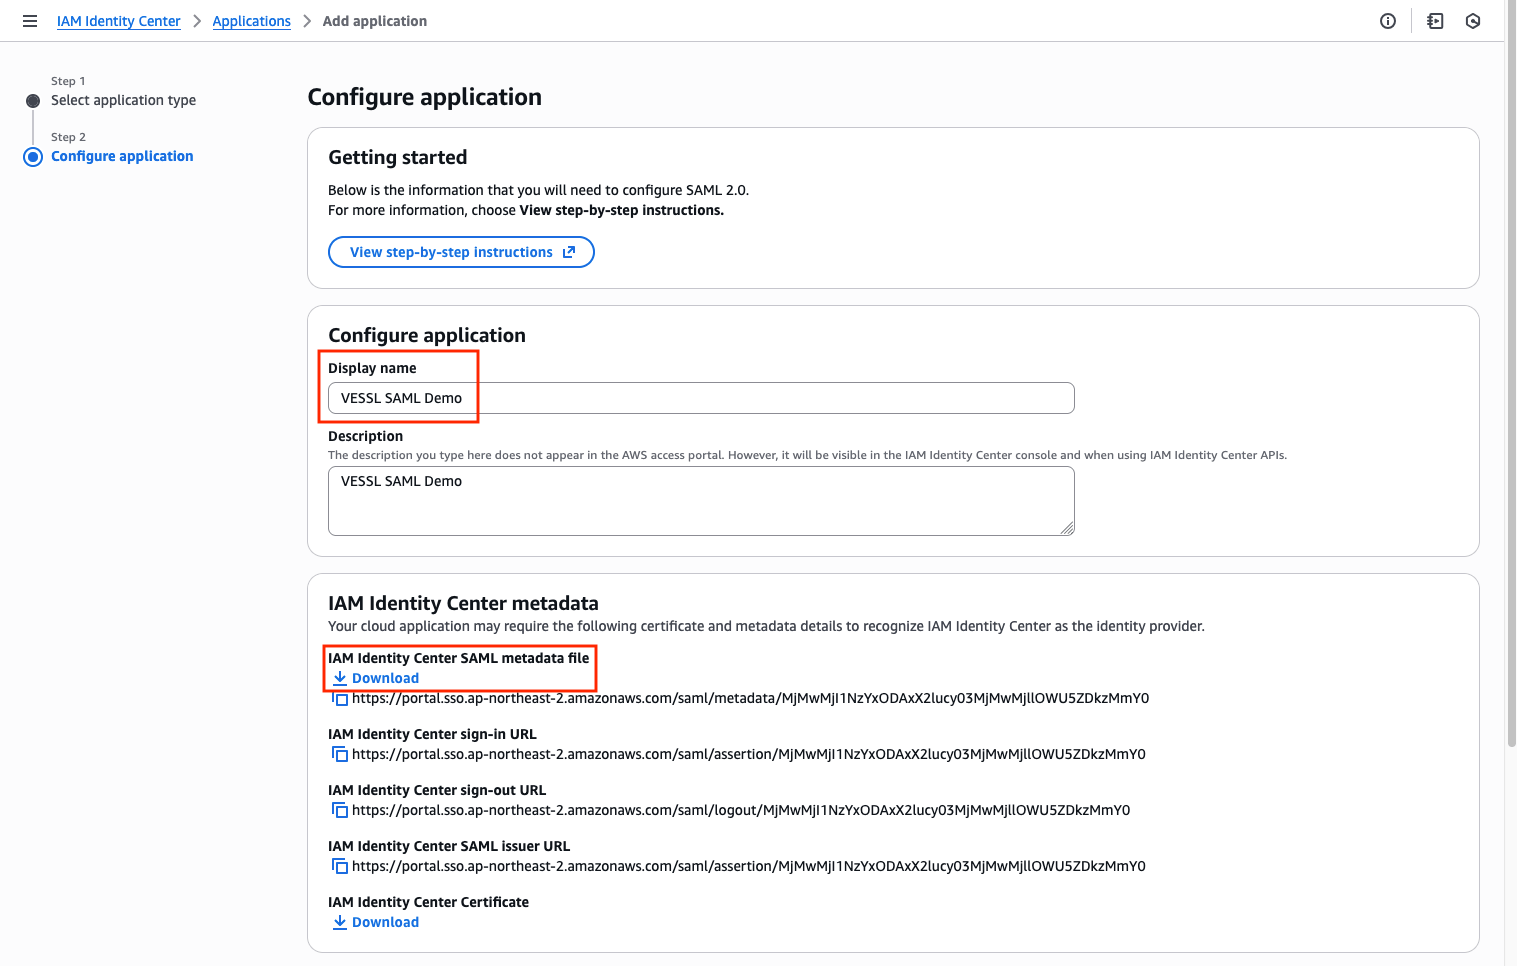
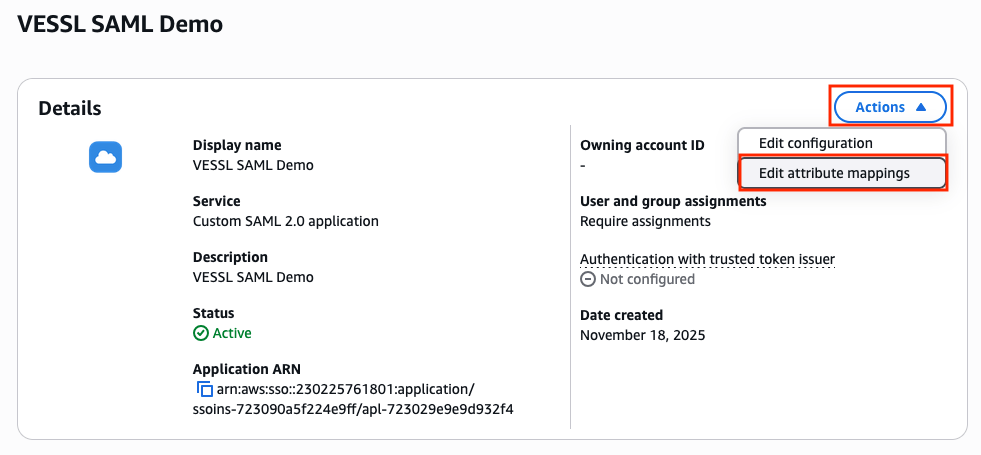
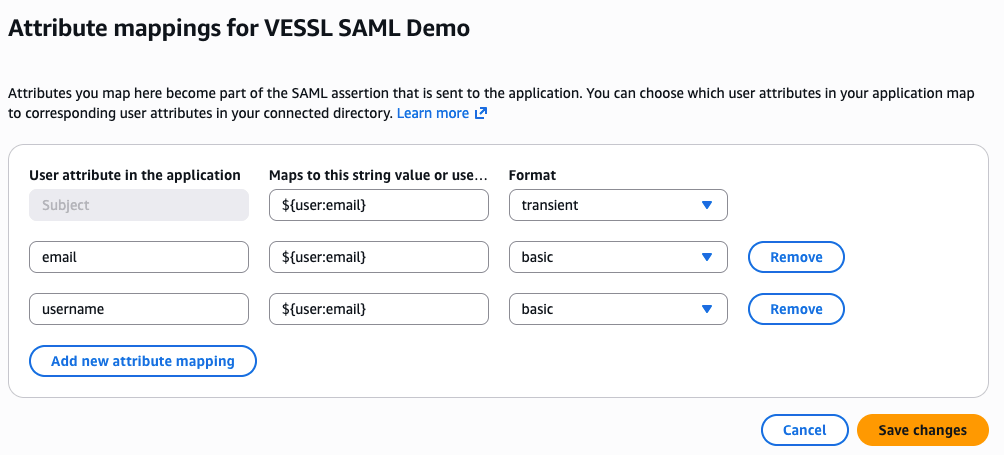
- AWS IAM Identity Center
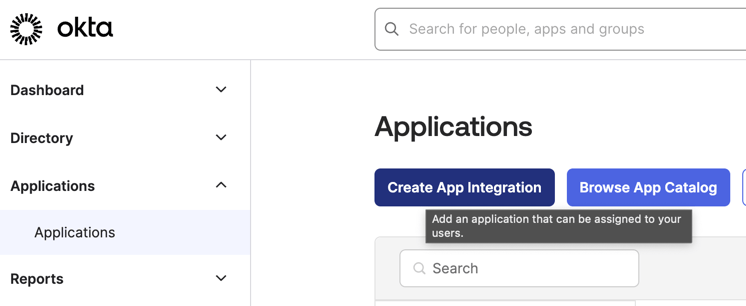
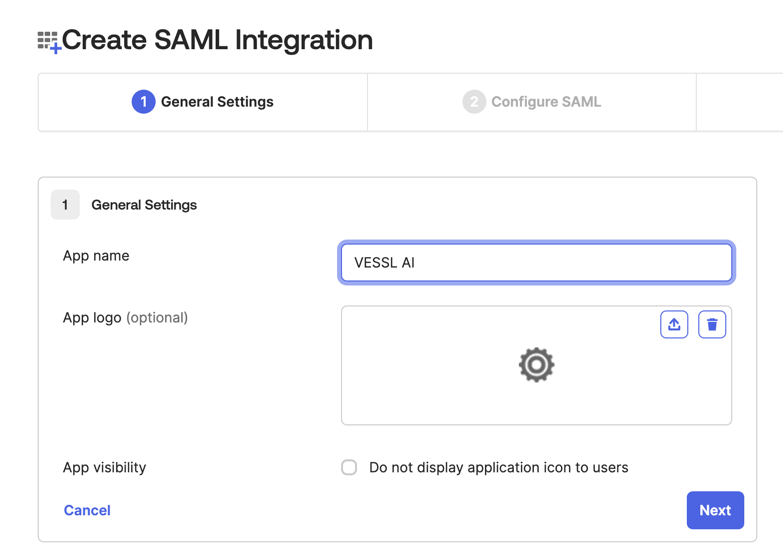
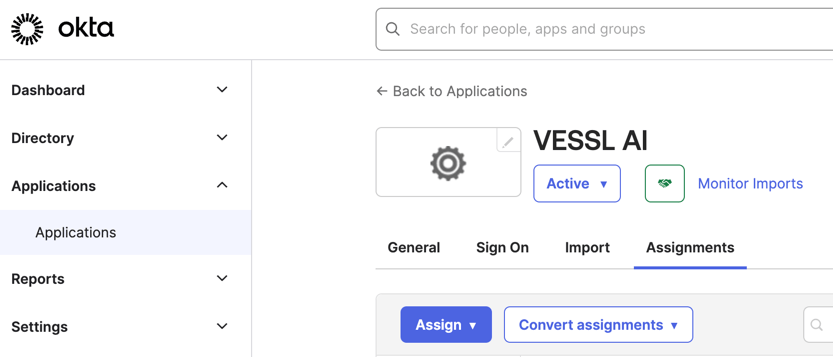
- Okta
- Custom identity provider
1
Sign in to Microsoft Entra
Sign in to the Microsoft Entra admin center.
2
Create the VESSL Cloud application
Navigate to Enterprise applications using the search bar.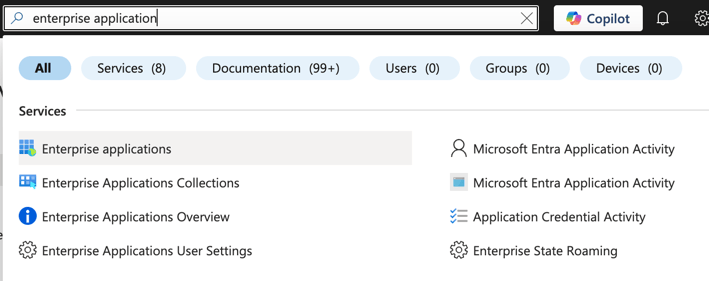
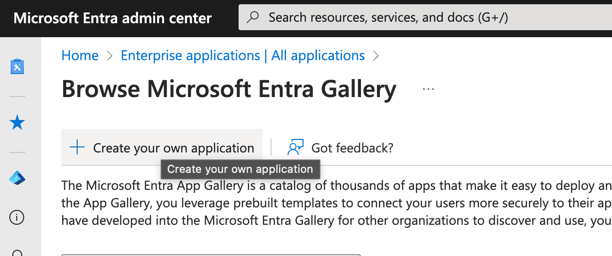
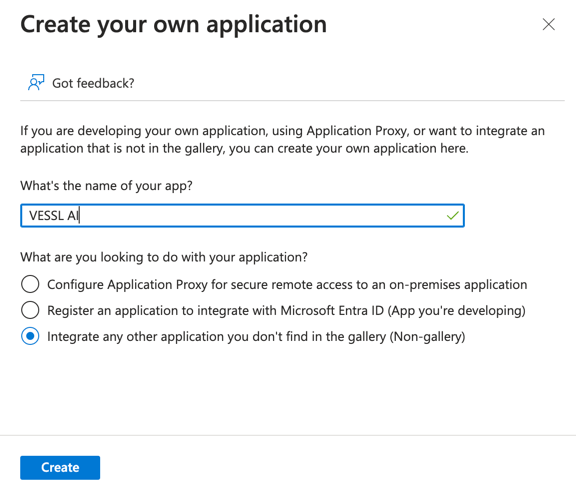
VESSL Cloud, select Non-gallery application, and click Create.3
Add users
After creating the application, you land on the Overview page. Click 1. Assign users and groups, then select + Add user.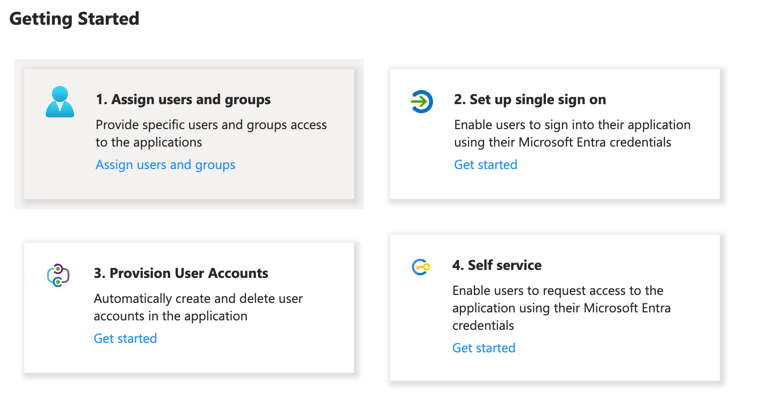
4
Set up SAML SSO
Return to the Overview page and click 2. Set up single sign-on. Select SAML as the sign-on method.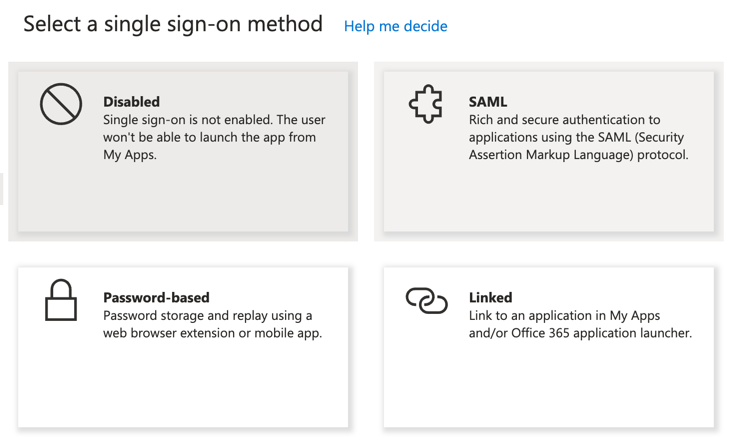
5
Copy the metadata URL
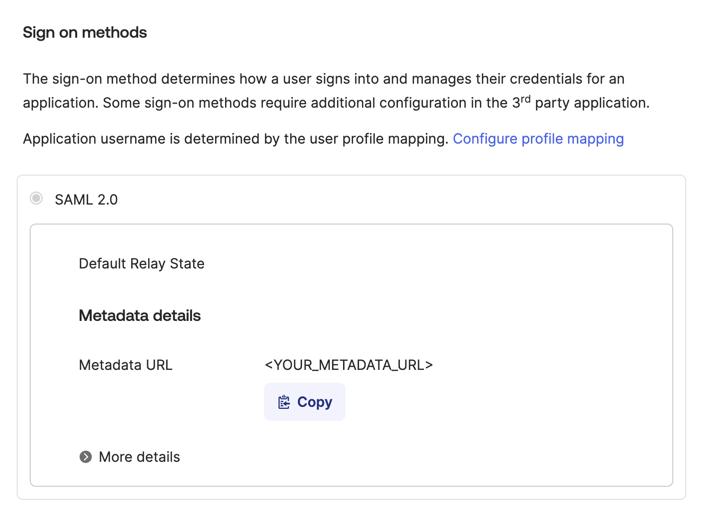
Copy the App Federation Metadata URL from Section 3. You will paste it into VESSL Cloud in the next section.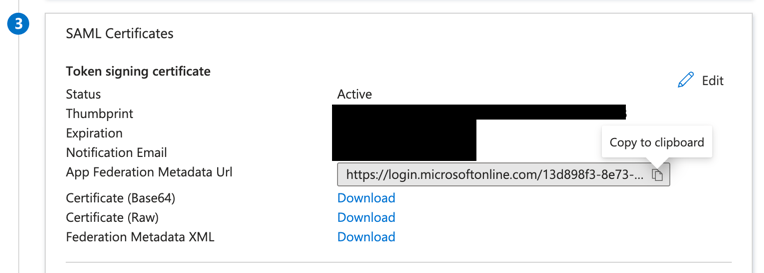
Configure VESSL Cloud
After setting up your identity provider, register its metadata in VESSL Cloud.1
Open SAML SSO settings
In the sidebar, select Settings, then select SAML SSO under Organization.
2
Add SAML SSO
In the IdP Configuration section, click Add SAML SSO.
3
Enter the IdP metadata
In Metadata XML, choose XML to paste the metadata XML, or choose URL to enter the metadata URL you copied from your identity provider.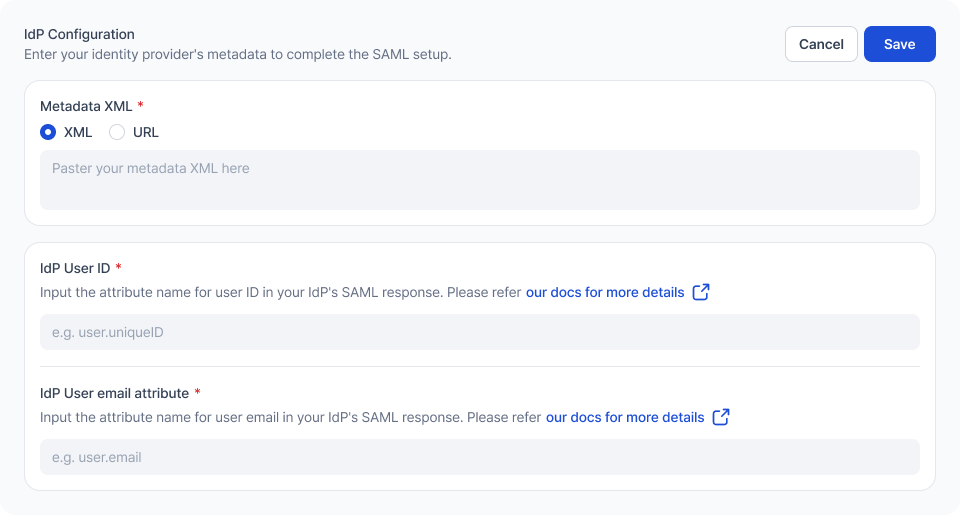
4
Enter the attribute names
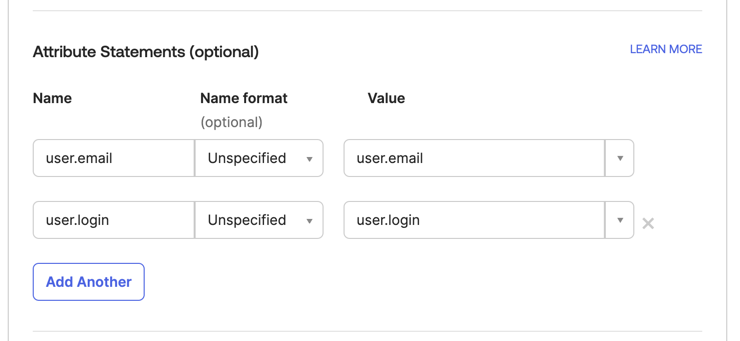
Fill in IdP User ID and IdP User email attribute with the attribute names your identity provider uses in its SAML response. The correct values depend on your provider; see IdP attribute reference.
5
Save the configuration
Click Save. A confirmation appears when SAML SSO is configured. If saving fails with a
Failed to configure SAML SSO error that mentions invalid IdP metadata, the metadata could not be parsed. Check that you pasted the complete metadata XML or entered the correct metadata URL, then try again.Sign in with SAML SSO
Once SAML SSO is configured, members sign in to the organization through your identity provider:1
Start SSO sign-in
On the VESSL Cloud sign-in page, click Continue with SAML SSO.
2
Enter your organization name
Enter your organization name in Organization name and submit. You are redirected to your identity provider.
3
Authenticate with your identity provider
Complete the sign-in at your identity provider. You are then redirected back to your organization.
- A user without a VESSL Cloud account gets an account created and joins your organization automatically on their first SSO sign-in.
- An existing member of your organization signs in as usual.
- A user who already has a VESSL Cloud account but is not a member of your organization cannot sign in with SSO. Invite them to the organization first; see Invite a member.
IdP attribute reference
Identity providers use attributes in the SAML response to pass each user’s ID and email. VESSL Cloud looks up these values using the attribute names you enter in IdP User ID and IdP User email attribute, so the names must match your identity provider’s configuration exactly. Refer to the values below for your provider:- Microsoft Entra
- AWS IAM Identity Center
- Okta
- Custom identity provider