
Quick demo
Explore the workspace creation flow with the quick demo below.Overview
All workspace settings are configured on a single page. Fill in each section and click Create to launch your workspace.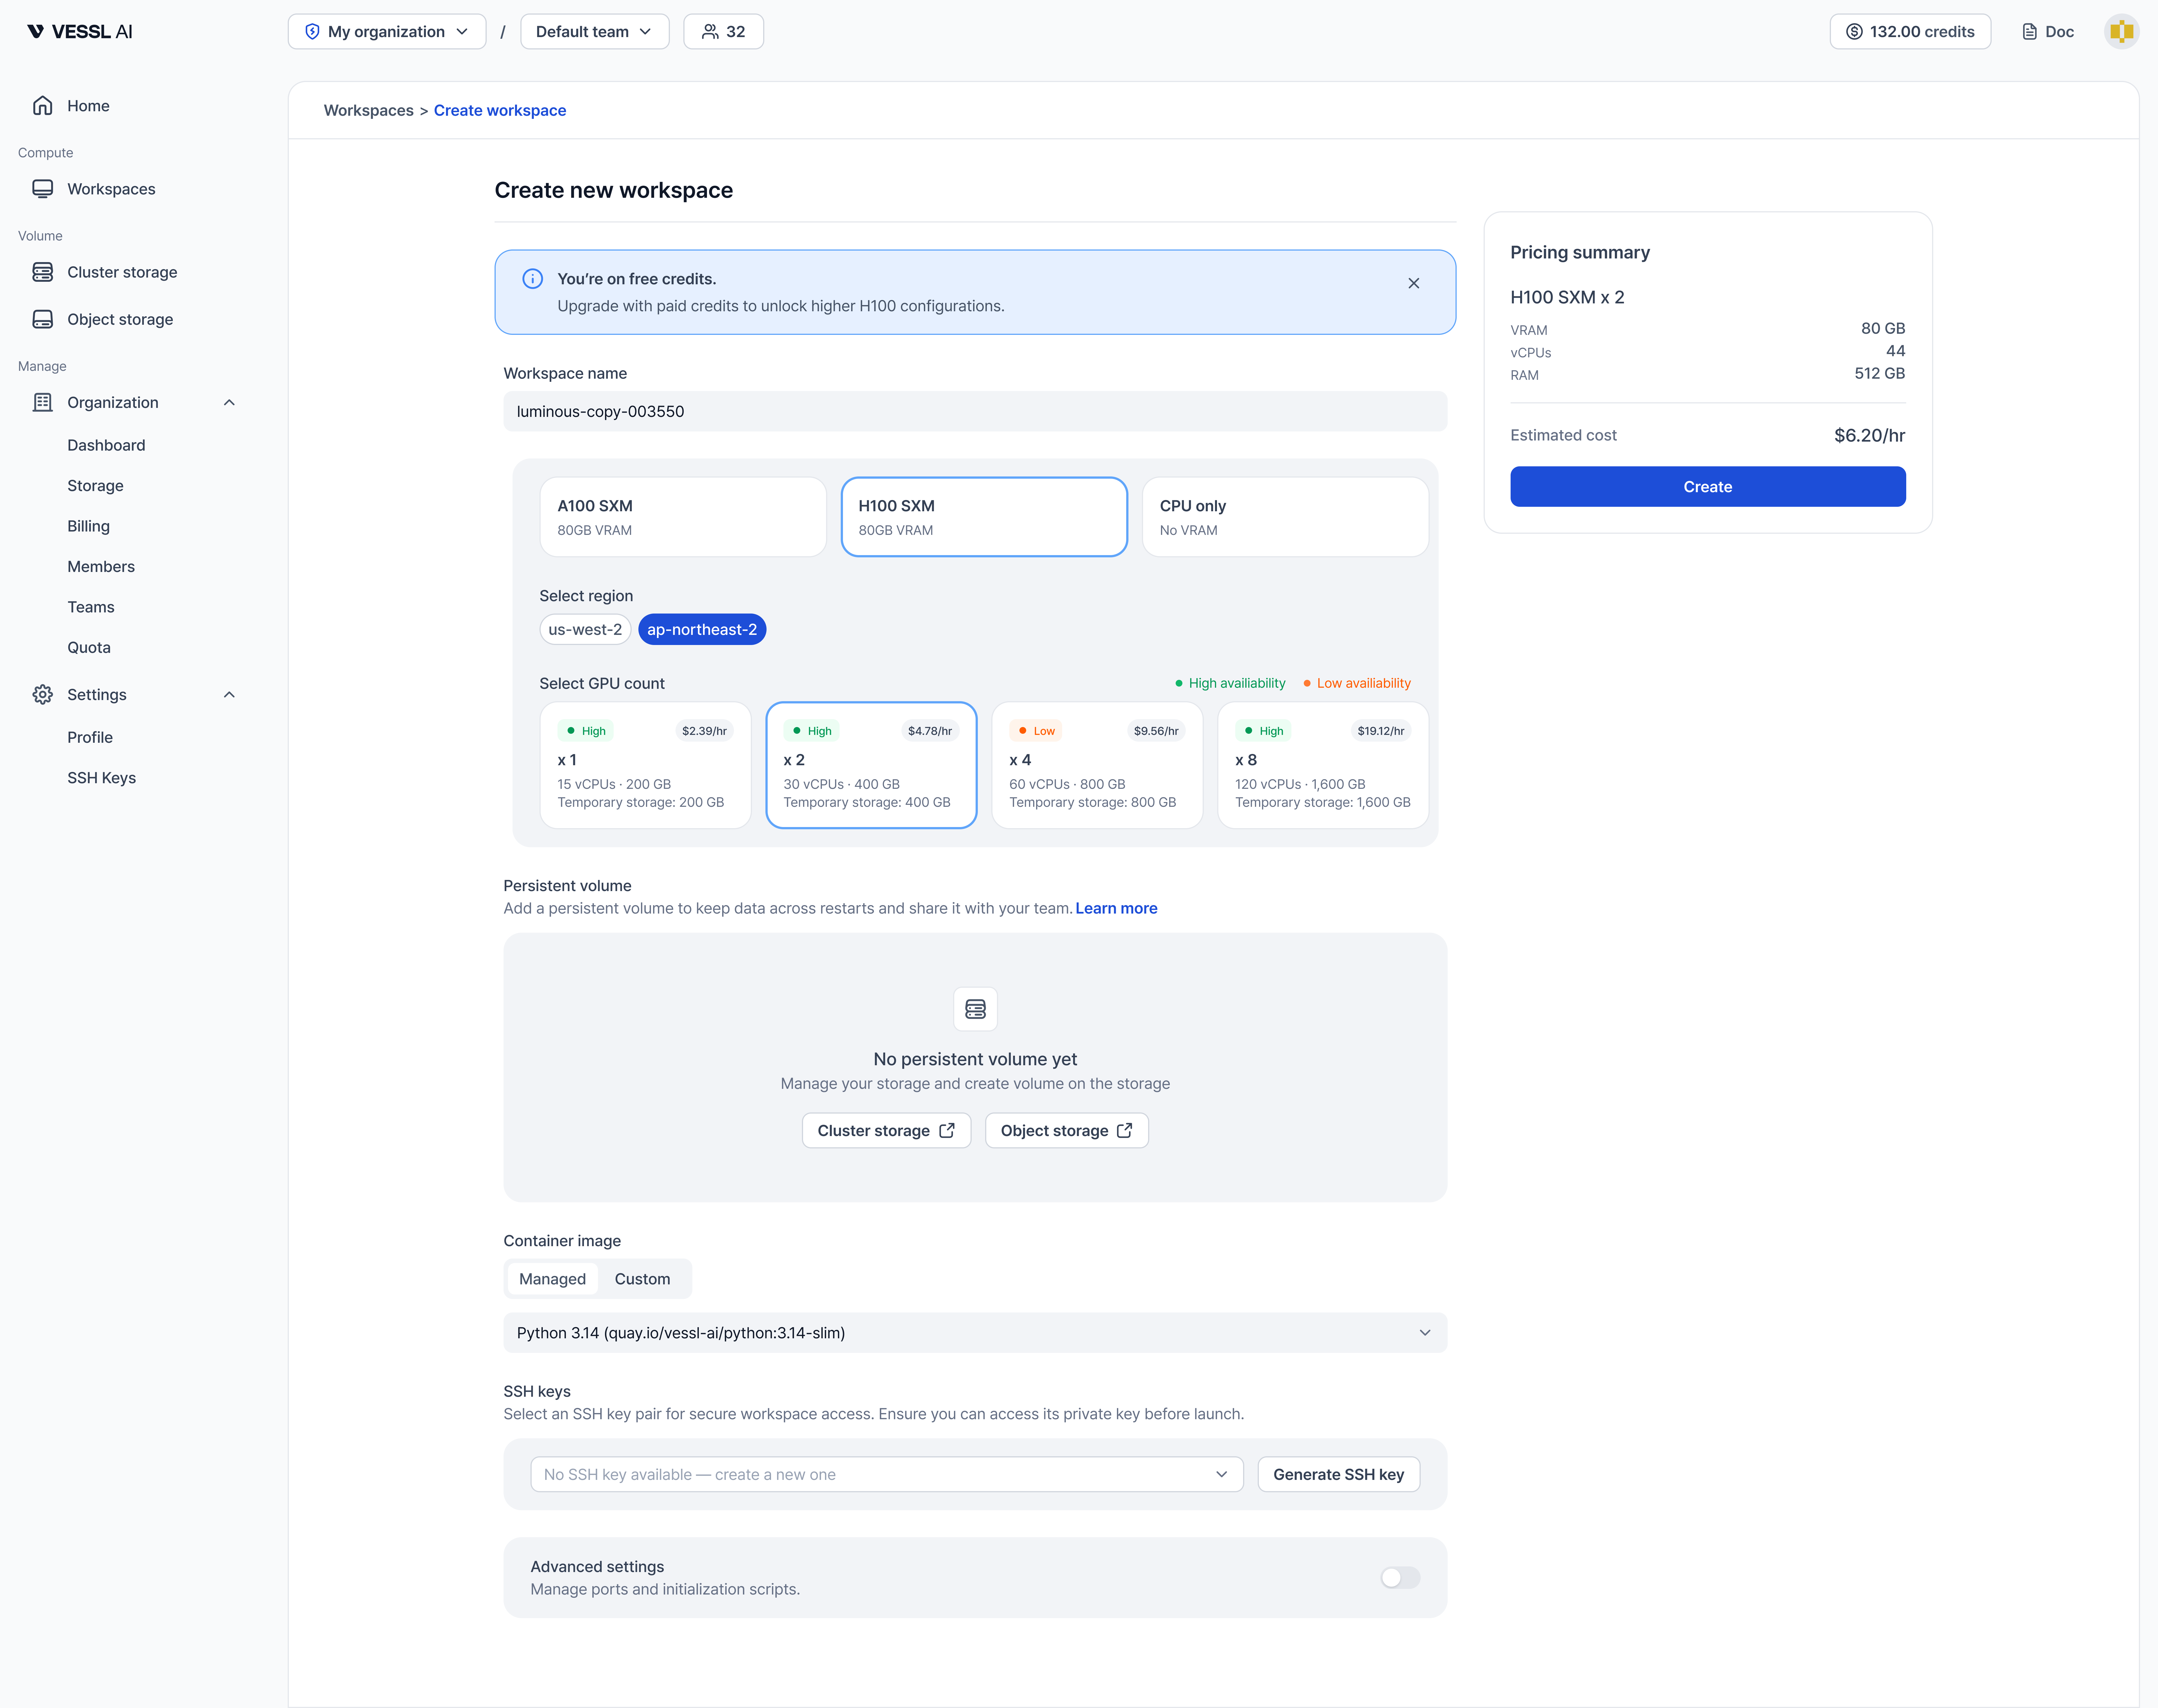
Workspace name
Enter a name for your workspace. A random name is generated by default.Resource spec
Select your hardware specification in three steps: GPU product, region, and GPU count.1. GPU product
Choose the GPU model that fits your workload. Each card shows the GPU name and VRAM capacity (for example, A100 SXM 80GB VRAM, H100 SXM 80GB VRAM). Select CPU only if you don’t need a GPU.2. Region
Select the region where your workspace will run. VESSL Cloud automatically assigns the optimal cluster within the selected region.3. GPU count
Choose how many GPUs to allocate. Each card shows:- Availability indicator (High / Low)
- Hourly cost
- vCPU count, RAM, and Temporary storage size
Each GPU count card shows an availability indicator:
- High availability: Sufficient resources available — your workspace should start promptly.
- Low availability: Limited resources available — your workspace may wait in queue longer than usual.
Persistent volume
Add a persistent volume to keep data across restarts and share it with your team.- Select a Volume from the dropdown and specify a Mount Path.
- Click Add volume to attach additional volumes.
Cluster storage volumes are only available when the GPU region you selected matches the storage’s region. If no Cluster storage appears in the dropdown, check that your organization has Cluster storage in the same region.
Recommended path for Cluster storage:
- Mount Cluster storage at
/root($HOME) for code and environments, or use a custom path like/data.
Object storage is slower than Cluster storage and not suitable as your main workspace path. Do not mount Object storage at
/root — use /shared or another separate path for datasets and cross-cluster sharing.Storage types
| Type | Description | Max per workspace |
|---|---|---|
| Cluster storage | High-availability distributed storage (CephFS/NVMe) shared within the same cluster. Data persists after terminate. | Multiple |
| Object storage | S3-backed POSIX-compatible storage accessible across all clusters | Multiple |
You can attach multiple Cluster storage and Object storage volumes to a single workspace.
Container image
Select a pre-configured official image (like PyTorch, CUDA) or switch to the Custom tab to use your own image.When using a custom image, ensure that SSH server (SSHD) and Python are installed to enable connectivity and full functionality.
SSH keys
Select an existing SSH key or click Generate SSH Key to create a new key pair.- The private key will be downloaded to your machine, and the public key is saved to your account automatically.
Advanced settings
Toggle Advanced settings to configure ports.Ports
Default ports are pre-configured:- HTTP 8888 — JupyterLab
- TCP 22 — SSH
Pricing summary and create
The Pricing summary panel on the right shows the selected resource spec details (VRAM, vCPU, RAM) and the estimated hourly cost.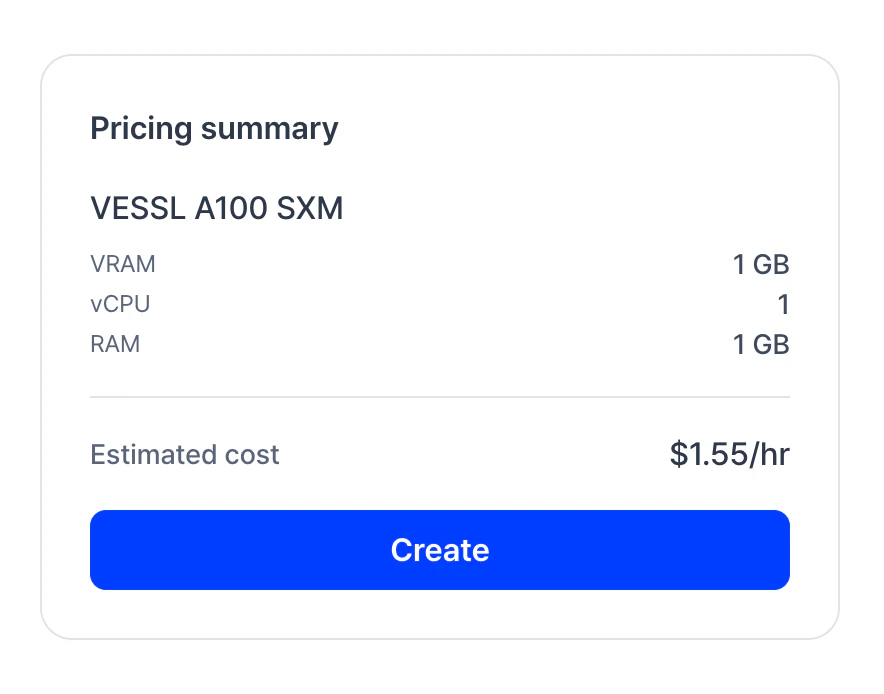
Credit buffer: Workspaces will not be terminated until your balance drops below -$10. This buffer amount will be displayed as a negative balance on your credit badge and deducted from your next top-up.